I’ve mentioned in the past that I have an oversupply of milk, and the overactive letdown that comes along with it. That makes nursing pads pretty much a necessity for me, unless I want two embarrassing telltale wet spots appearing on my shirt throughout the day.
Before Lee was born, I ordered cloth diapers from the US, and together with my order, I purchased cloth nursing pads. Suffice it to say, those nursing pads were absolute garbage (that’s a euphamism for the less polite word I would use to describe them) and did not work in the slightest…
So, of course, I ended up being forced to spend a fortune on disposable nursing pads… because going without simply isn’t an option (so long as I want to stay dry)… and all the local disposable nursing pads are outrageously expensive.
That is, until I figured out how to make my own reusable nursing pads that work very well, even better than the disposable ones, and they cost me NOTHING to make.
I had read up about how to make homemade nursing pads, and all of them advised using a few layers of absorbent material cut into a circular shape. For nursing pads, you actually aren’t supposed to use waterproof backing material as you need the pads to be breathable; lack of breathability would make you more likely to get thrush, and you don’t want that…
So, what I did was take an old cloth diaper I had that was starting to get really frayed and ripped up. (The better looking and prettier side is facing upward.)
Since cloth diapers are made for the purpose of absorbing babies waste products, I knew pads made out of this diaper would be absorbent as well, making it the perfect material for a cloth diaper pad. This prefold diaper is made of a few layers of material folded over and sewed down, so the middle section is about 8 layers of absorbent fabric, and the outside sections are 4 layers of fabric.

With a large cup, I outlined a bunch of circles with a permanent marker onto the diaper, making sure not to draw on any seams.
Now you might think that the next step would have been to cut these traced circles out, but nope, I wanted to do things the easy way, so I just sewed each of the circles (on the circle) with a straight stitch on my sewing machine.
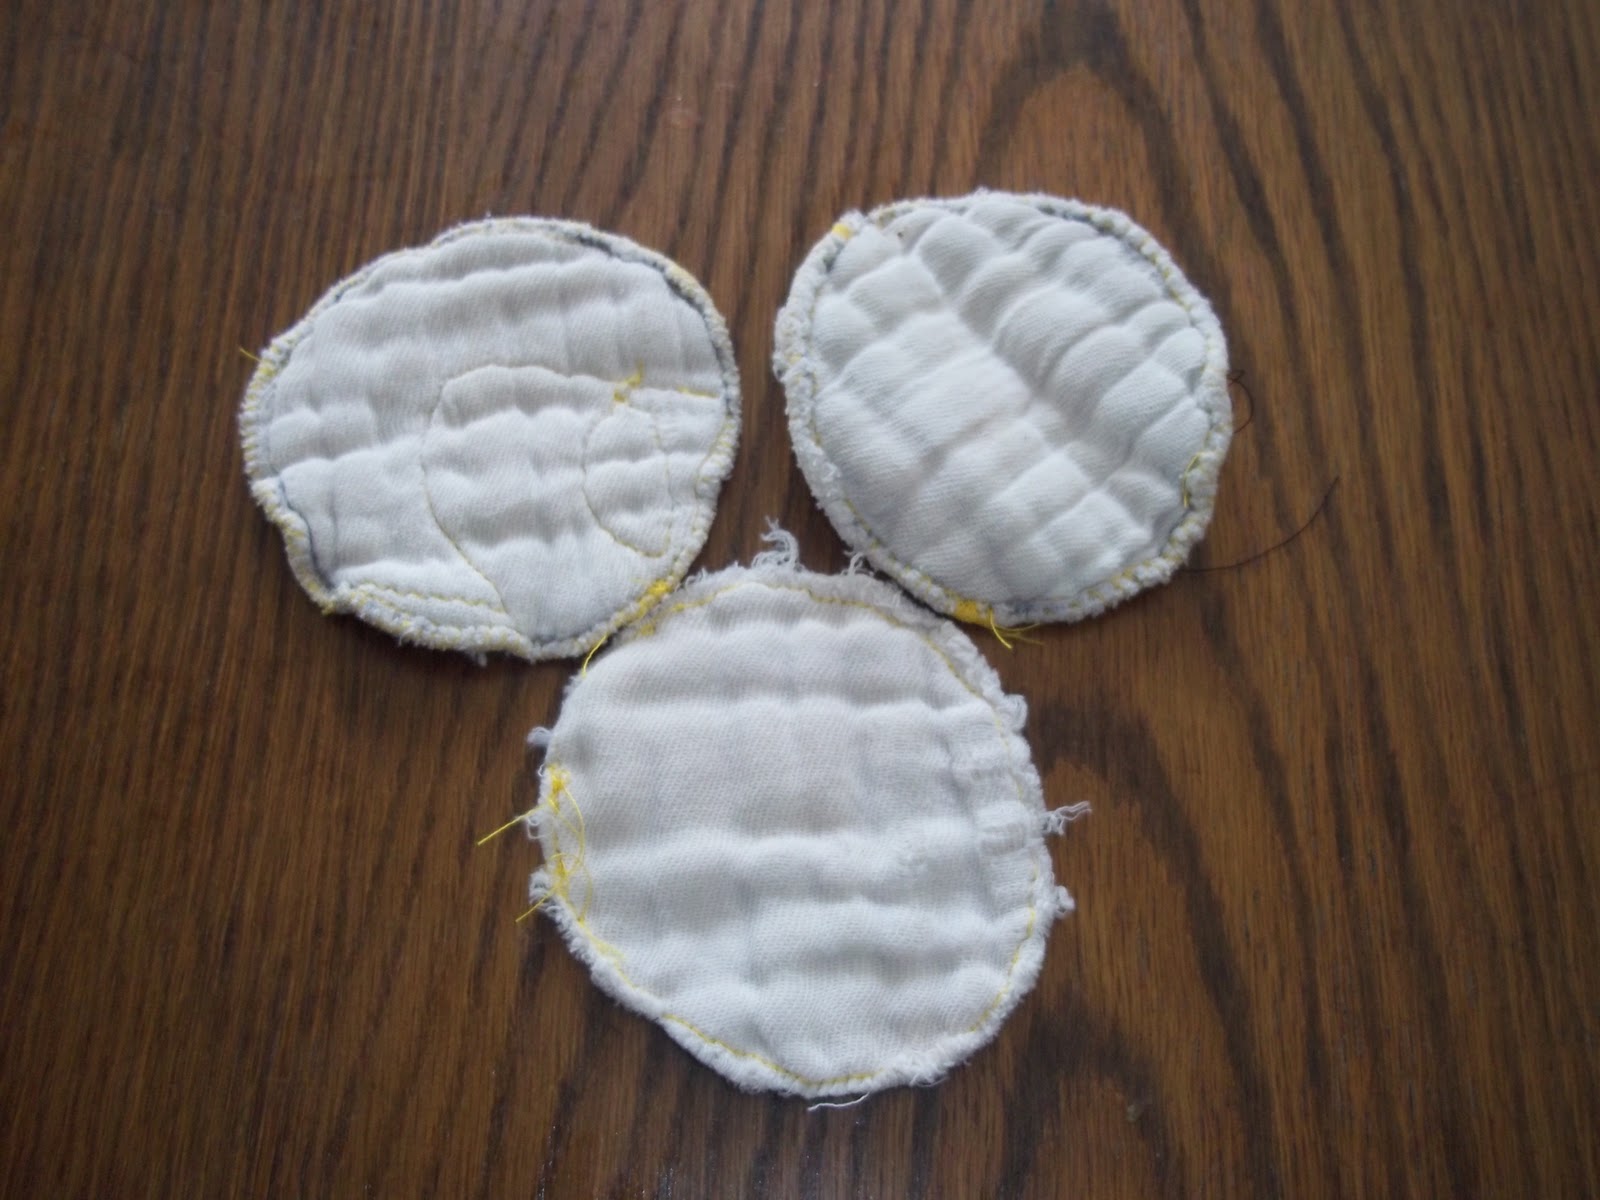
I then cut out the circles, leaving a bit of an edge around the seams. See- I skipped the pinning stage- this was very easy!
I then used a zig zag stitch around the edge of the pads, and voila, nursing pads, some thinner, some thicker. (I found even the thinner ones work fine, even overnight! These are much more absorbent than I expected them to be!)
(Because they were ratty and falling apart on the reverse, I stitched them across the middle where they were coming apart so there wouldn’t be any hanging flaps.)

To use- just tuck inside your bra and change as needed!
If you don’t have any old, ratty, cloth diapers to use for this, you can buy old cloth diapers at many thrift stores, or you can make these by sewing together a few layers of absorbent material like flannel.
Good luck!
Do you find you need nursing pads to stop you from leaking? Did you use cloth nursing pads or disposables? How much did you pay for your pads, whether reusable or disposable? Have you made your own? Would you make your own? Do you think you’d try this one out?