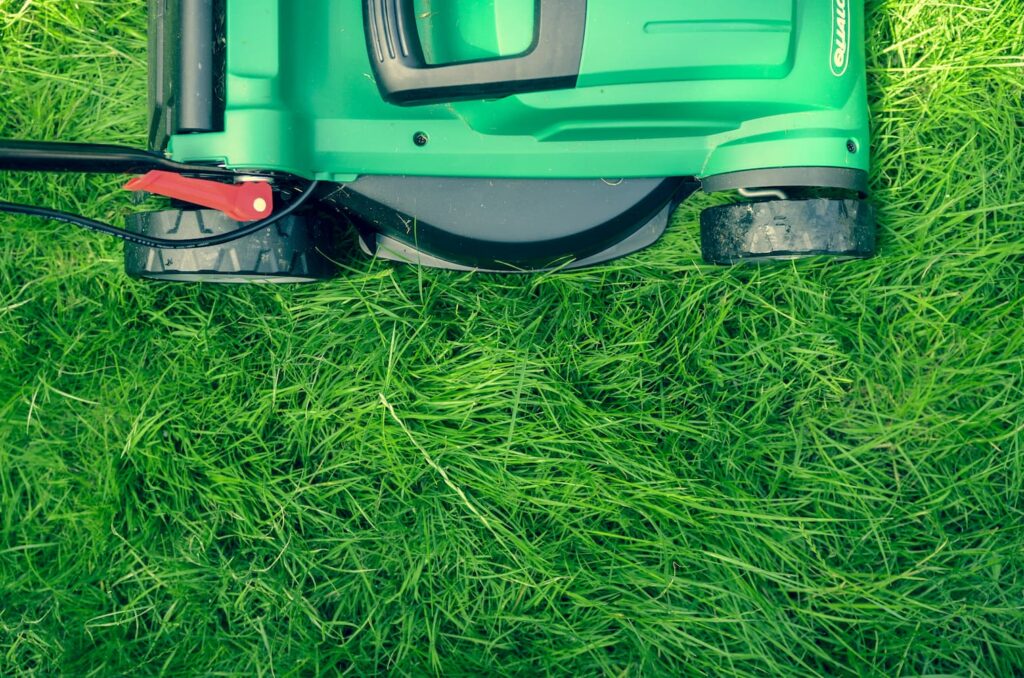
Mowing your own lawn instead of paying someone to do it is a big money saver if you have a lawn. But what if your lawn mower breaks, and the lawn mower belt is the issue? Instead of paying for an expensive repair, you can replace the lawn mower belt yourself. Read on to learn how.
The mower belt is a small yet vital part of your lawn mower. It transfers power from the engine to the blades, allowing them to spin and cut grass efficiently. Over time, belts can stretch, crack, or break, which can lead to poor cutting performance or even prevent your mower from working entirely. Learning to replace the belt yourself not only saves money but also gives you confidence in handling routine mower maintenance. With the right approach, you can complete this task safely and effectively at home.
Safety Precautions
Before you start, safety should be your top priority. Always disconnect the spark plug to prevent accidental engine startup. Wear protective gloves and safety glasses to shield your hands and eyes from sharp parts or flying debris. Ensure the mower is on a flat, stable surface to prevent tipping while working underneath it. These precautions may seem simple, but they can prevent serious injuries.
Tools and Materials Needed
To replace your mower belt successfully, gather the following items:
- Wrench or socket set
- Screwdriver
- Replacement belt (make sure it matches your mower’s model)
- Protective gloves
- Optional: lawn mower lift or a sturdy jack for easier access
Having all the necessary tools on hand before beginning ensures a smoother and faster process.
Identifying the Problem
Knowing when to replace a lawn mower belt can prevent bigger issues. Common signs include slipping blades, a squealing sound when the mower is running, or uneven mowing results. Sometimes, the mower deck won’t spin consistently, or the blades may appear to be slow under normal load. Scrutinize the belt for cracks, frays, or areas where the rubber is worn thin. Any of these signs indicates it’s time to replace the belt to maintain your mower’s performance.
Removing the Old Belt
Removing the old belt requires careful attention to avoid damaging other components:
- Disconnect the spark plug first to eliminate any risk of accidental startup.
- If your mower design requires it, remove the mower deck by loosening the bolts or pins holding it in place.
- Release tension from the belt tensioner. Most mowers have a spring-loaded lever or arm that keeps the belt tight. Gently move it to free the belt.
- Slide the old belt off the pulleys, taking note of how it is routed. A photo or diagram can help with reinstallation.
Handle the pulleys carefully during this process. Bent or misaligned pulleys can reduce the lifespan of the new belt.
Installing the New Belt
Follow these steps to install your new belt correctly:
- Route the belt around the pulleys following the diagram in your mower’s manual. Ensure it fits smoothly into each groove without twisting.
- Re-engage the tensioner to apply the correct tension to the belt.
- Double-check that the belt is positioned correctly and that the tension is even. Misalignment or slack can cause the belt to slip and damage it prematurely.
A properly installed belt will move smoothly and quietly when the mower is running.
Reassembling the Mower
Once the new belt is in place, reassemble any parts you removed:
- Reattach the mower deck securely, tightening all bolts and screws to ensure a secure fit.
- Ensure fasteners are snug but avoid over-tightening, as this could strip the threads.
- Reconnect the spark plug, preparing your mower for a test run.
Careful reassembly ensures safety and prevents mechanical issues during operation.
Testing the New Belt
After assembly, test the mower to ensure the new belt functions correctly:
- Start the mower in a safe, open area.
- Observe the blades and listen for unusual noises, such as squealing or grinding.
- Verify that the mower deck rotates smoothly and that the belt remains in place during operation.
If the mower runs smoothly without noise or slipping, the belt installation was successful.
Maintenance Tips
Regular care can prolong the life of your mower belt:
- Inspect the belt periodically for wear or cracks.
- Clear debris from the belt and pulleys after each mowing session.
- Lubricate moving parts according to your mower’s manual to reduce strain on the belt.
Simple maintenance routines keep your mower running efficiently and prevent premature belt failure.
Conclusion
Replacing a mower belt at home is a straightforward DIY task that can save both time and money. By following the steps of inspection, removal, installation, reassembly, and testing, you can restore your mower to optimal performance. Regular belt checks and basic maintenance help avoid unexpected breakdowns and extend the life of your equipment. Taking the time to handle minor repairs yourself not only improves your mower’s efficiency but also builds confidence in managing future maintenance tasks.