
 When I grew up, it was my job to take out the recycling on garbage day. I’d sort out the metal and plastic and glass recycleables and bring them to the tree lawn, then I’d put the newspapers and papers and cardboard boxes in a brown paper bag and put that in a separate pile on the tree lawn. Recycling is a little thing we can do to at least minimize the amount of damage we’re doing to the environment on a daily basis.
Where I live, though, there is no recycling pick up, and without a car, its very hard for me to make it to the drop off points with all my stuff, yet each time I put something in the trash, I can just visualize the mountains of trash that we just keep on generating day after day.
I like to do my part and rescue as many things from the trash (and therefore landfills) as possible, and if doing that saves money in addition to be less bad for the environment, then that’s even cooler.
This homemade paper is made entirely out of recycled old paper products, which means that when my kids want paper after paper after paper to color pictures, I don’t need to keep filling up the waste basket with more and more trash; I can reuse their old pictures to make new paper.
The paper ends up being a bit thicker than regular paper, more like card stock than anything else. You can trim it to shape or leave it with rough edges for a “rustic” look.
So, here’s how to make paper. And no, it doesn’t use any special equipment, only things that most people already have in the house:


5. Lay a piece of parchment paper down on a flat surface, on top of a larger towel. Place a blob of the paper mixture onto the parchment paper.

6. Lay another piece of parchment paper on top of the blob, then roll out as thin as possible with a rolling pin, making sure that you are getting a solid, yet thin sheet of paper pulp.

7. Peel off the top parchment paper, then fill in any of the holes in the sheet with more paper pulp, then roll down to flatten.


10. Leave for about a day, letting the top dry thoroughly, then flipping it over so it can dry on the other side.
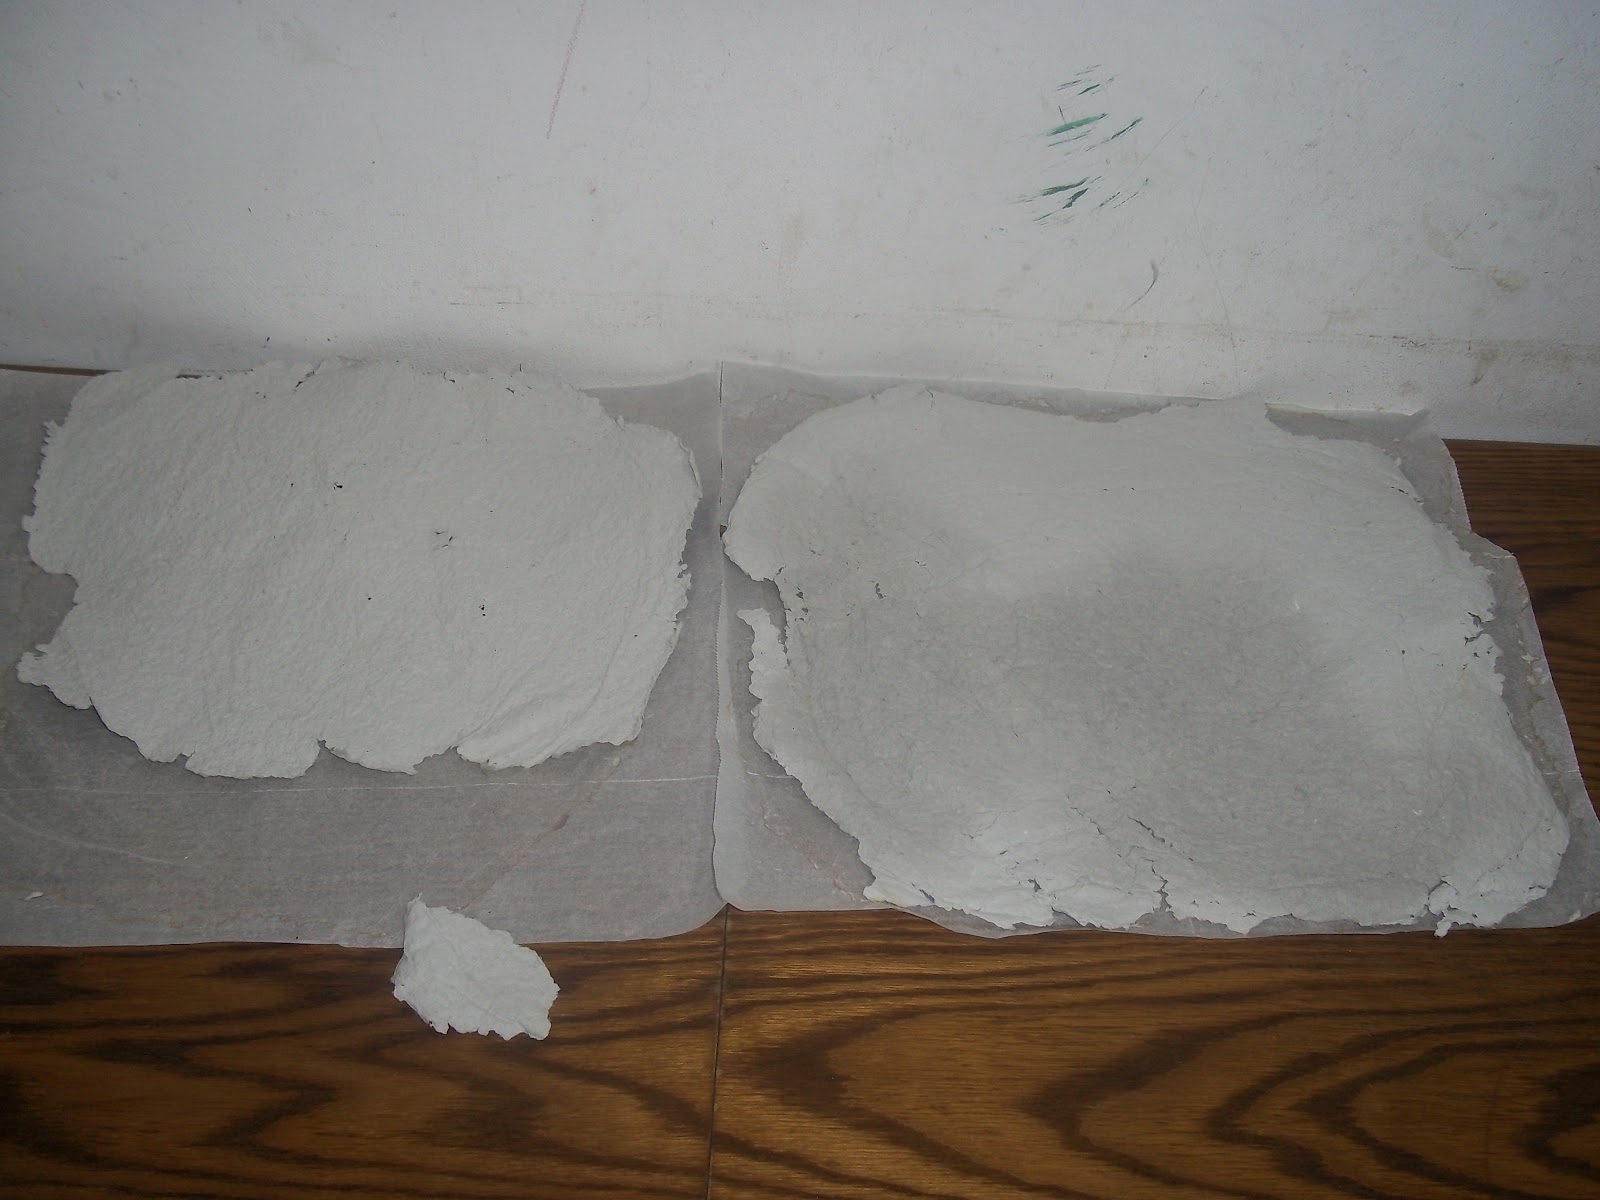
11. Here’s the lovely sheet of paper… Just needs to be trimmed!

Here’s the paper cut a little bit more to size.


0 Responses
A rolling pin! Of course. I was looking at ways to do this without a special screen
A rolling pin! Of course. I was looking at ways to do this without a special screen
This comment has been removed by a blog administrator.
This comment has been removed by a blog administrator.
This comment has been removed by a blog administrator.
This comment has been removed by a blog administrator.
This comment has been removed by a blog administrator.
This comment has been removed by a blog administrator.