 I think everyone in my family has sensory issues. My kids have sensory issues and my husband and I also have. In fact, as I speak to more and more people, I think kids without sensory issues are a rarity- some just have it to more extremes than others.
I’ve read that with kids with sensory issues, often deep pressure massages and similar things can produce a calming affect, especially when they’re tantrumming. I’d read that there are weighted vests and blankets that are supposed to help give this deep pressure to kids; these are especially used in kids with autism, but not only for them- anyone with sensory issues can benefit.
How does it work? Supposedly the “added weight causes the brain to release neurotransmitters like serotonin and dopamine that improve moods and induce a calming effect.” Lots of people have found weighted blankets also help their kids sleep better.
Once I had a cold, and I was told to put some salt with a little rice in a pillow case, and lay my head on it; it was supposed to help dry up my congestion. I am not sure it actually worked; however, once I had my pillow case filled with salt (2.2 lbs), I decided to try it out, see if it could help calm down a hyper kid or a kid who is tantrumming, by putting some weight on them. I simply plopped the filled pillow case on my child, and saw that it had an almost instantaneous effect, and my kid really loved it. I said if just one little pillow case filled with 2.2 lbs of salt was that great- imagine what an entire blanket filled with salt could do.
And so I decided to make a weighted blanket for my kids.
The project was very easy, and cost very little. I think it was $5.40 total. (Much cheaper than the hundreds of dollars store bought ones cost.)
The kids love it. My husband loves it. I love it.
And yes, when a kid of mine has a melt down (fortunately not too often, especially once I took Ike off gluten), I just have them lie down and place the blanket on them- instant calming effect.
So here’s the thing- I will first tell you how I made mine.
Mine works.
But it could be better.
So first I’ll tell you how mine is, and then I’ll tell you how to make it even better should you choose to make one yourself.
How to Make a Homemade Weighted Blanket- Step By Step Instructions
Equipment Needed:
2 flat sheets or one duvet cover
Needle and thread
26.4 lbs of coarse salt (or less)
Sewing machine (optional, but it’ll make it much easier)
Instructions:
1. To make my life simplest, I just bought a duvet cover from the second hand store in my community- it cost 25 cents. If you don’t have a duvet cover, simply take 2 flat sheets, put them facing each other, and sew around the edges of the entire thing, leaving an opening a few feet wide at the top, and then flipping it inside out so you have a duvet cover.
2. Buy your salt. I used 22 lbs of salt for mine and find it good- though you may choose to use less salt.
3. What you want to do now is make a grid. You want to fill the entire blanket with salt, however, you don’t want all the salt to just bunch up in one corner- you want even distribution. To do that, you will need to sew a grid into your duvet cover, and put a little salt in each square/rectangle, so that the salt pretty much stays put. I only made twelve rectangles in my blanket, 2.2 lbs in each rectangle, so the salt has too much room to move around. I would recommend making at least 40, if not 60 squares/rectangles in the grid for a more even distribution.
4. First decide if you want the entire blanket to be weighted, or if you just want the weight in the center. I didn’t want the weight everywhere, so I just sewed a straight line across the bottom 2 feet of the duvet cover, so that the salt wouldn’t go down there. (Just note- you’re sewing this with the duvet cover right side out, not inside out.) If you don’t care about this, or if you want the entire thing to be weighted, skip this step.
5. Next, sew vertical stitches, up and down the duvet cover, either from that stitch you made across the bottom part, or all the way from the bottom of the cover. Make sure to stop these stitches at least a foot from the top of the duvet cover, if not more. I made 5 stitches up and down the length of the duvet cover, making 6 columns/compartments in the duvet cover. I suggest you actually make 9 across, so that you have 10 compartments.
6. From the opening to the duvet cover, pour some salt into each of the columns. I poured an entire 2.2 lbs into each section, but I suggest you use less- only half a pound or so (1/2-3/4 cup) into each of your (ideally 10) sections.
7. Once you filled your sections with salt, shake the duvet cover so the salt settles down to the bottom of the columns.
8. Now you’ll need to sew a horizontal line across the columns. This will be closing off your first section/rows of rectangles/squares of salt into your grid, so think about how large you want these rectangles/squares to be. I suggest not making them too tall or the salt will have too much area to move around and/or bunch up in, but again, not too small either or it’ll be too much salt concentrated in one little area.
9. Once you sewed your horizontal line across, again put salt into each of the columns/sections. Repeat this until you finish up your salt and/or you reached the top of your vertical columns.
10. Sew two horizontal rows of stitches closing off the salt into the grid, making sure that the salt can’t come out of the top of the duvet cover.
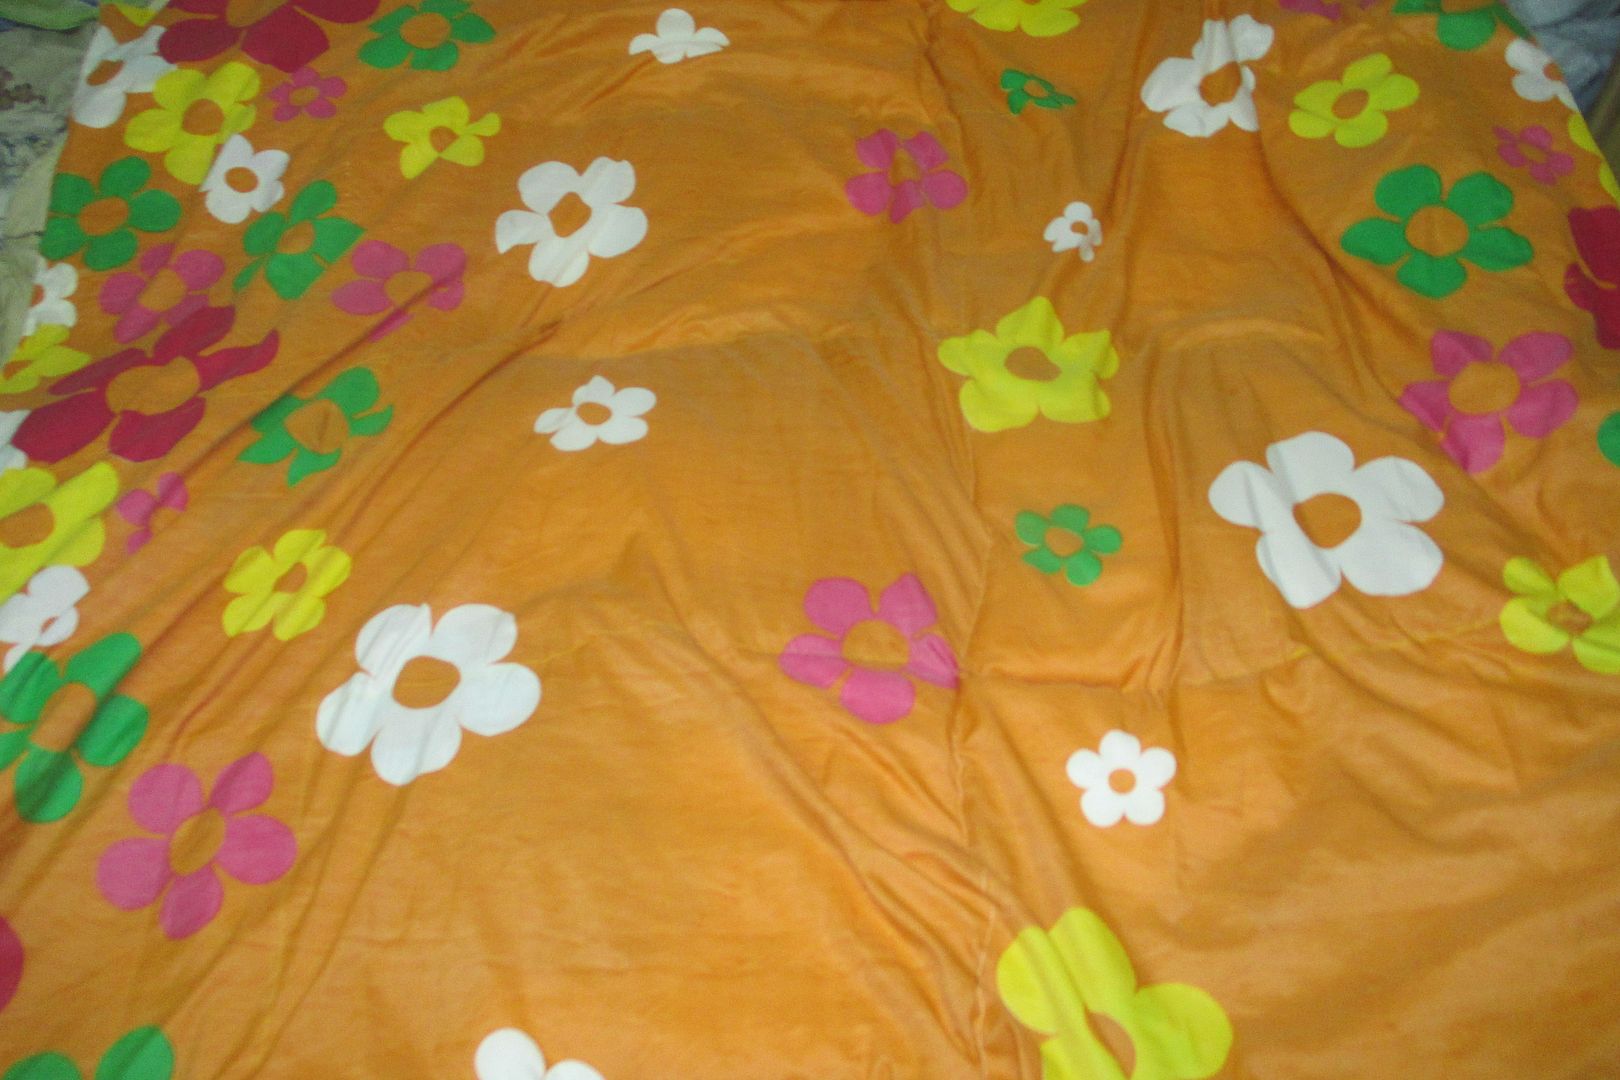
Voila- you have your blanket.
Someone suggested to me that you put a waterproof duvet cover on top of this, with another duvet cover on top of that, to prevent water from getting into the salt, and to prevent possible salt spills. I haven’t bothered, but if you want to try, you can definitely give that a go.
I suggest that you make these stitches as small as possible, so that the salt won’t have any means of coming out from between the stitches.
Enjoy!
P.S. My husband loves this blanket so much that he asked me to make another one, designated just for him, and the other one, the kids can share as needed.
Have you ever heard of or used a weighted blanket? What effect did you see it had on your kid/yourself? Do you own one? Or have you wanted to buy one?
Does this look like a project you’d try?

 I think everyone in my family has sensory issues. My kids have sensory issues and my husband and I also have. In fact, as I speak to more and more people, I think kids without sensory issues are a rarity- some just have it to more extremes than others.


0 Responses
Thank you so much for sharing this information regarding weighted blankets with us.
Thank you so much for sharing this information regarding weighted blankets with us.
Do your children still use the weighted blankets?
Do your children still use the weighted blankets?