Homemade Chocolate Coins Tutorial

 photo IMG_2483_zps52d55fae.jpgMy kids love chocolate coins. They love chocolate in general, but if they had the choice of a square of chocolate or chocolate coins, chocolate coins would win, hands down.
The thing is- chocolate coins are expensive. Chocolate is expensive, yes, but chocolate coins are even more expensive per pound... We do buy chocolate coins occasionally as a real treat.... but I wanted to see if I could make chocolate coins at home. Both for cost reasons, and for the fun of it.

At first I wasn't sure if I'd need specialized molds or specialized equipment, and if my kids would be as satisfied from our homemade chocolate coins as they are from the store bought stuff... but I decided to give it a shot and see how it went. Google showed me that you could simply use mini muffin tins instead of official coin molds, so I went with that.

The cool thing about this is that once I figured out the basics of making chocolate coins, I am now able to play around with it and make specialty chocolate coins, like using my 85% cocoa chocolate bars, or turn my plain chocolate into cool chocolate, like mint chocolate, mocha, etc.

To be honest, I first did this project... and only after that did a price comparison. Locally, the cheapest you can get chocolate coins is $2 per 100 grams. I got decent quality chocolate bars on sale for $1.14 per 100 grams, and saw cheapo quality chocolate for $0.94 per 100 grams. If I'd bought the chocolate in bulk (like I've been considering, to be honest, at the rate my family eats chocolate), I could buy it for $0.76 per 100 grams. So, definitely cost effective to make your own.

And its a fun activity for the kids as well.

So why not make your own?

Here's how you do it. (Super simple, I promise.)

Homemade Chocolate Coins Recipe and Tutorial

Equipment Needed:
Chocolate bars (or other chocolate)
A microwave and a bowl, or a double boiler (a little pot inside a big pot is what I use) or an oven and an oven proof baking dish
A small spoon
Mini muffin tins (ideally silicon)
Aluminum foil
Additions to the chocolate (optional)

Instructions:
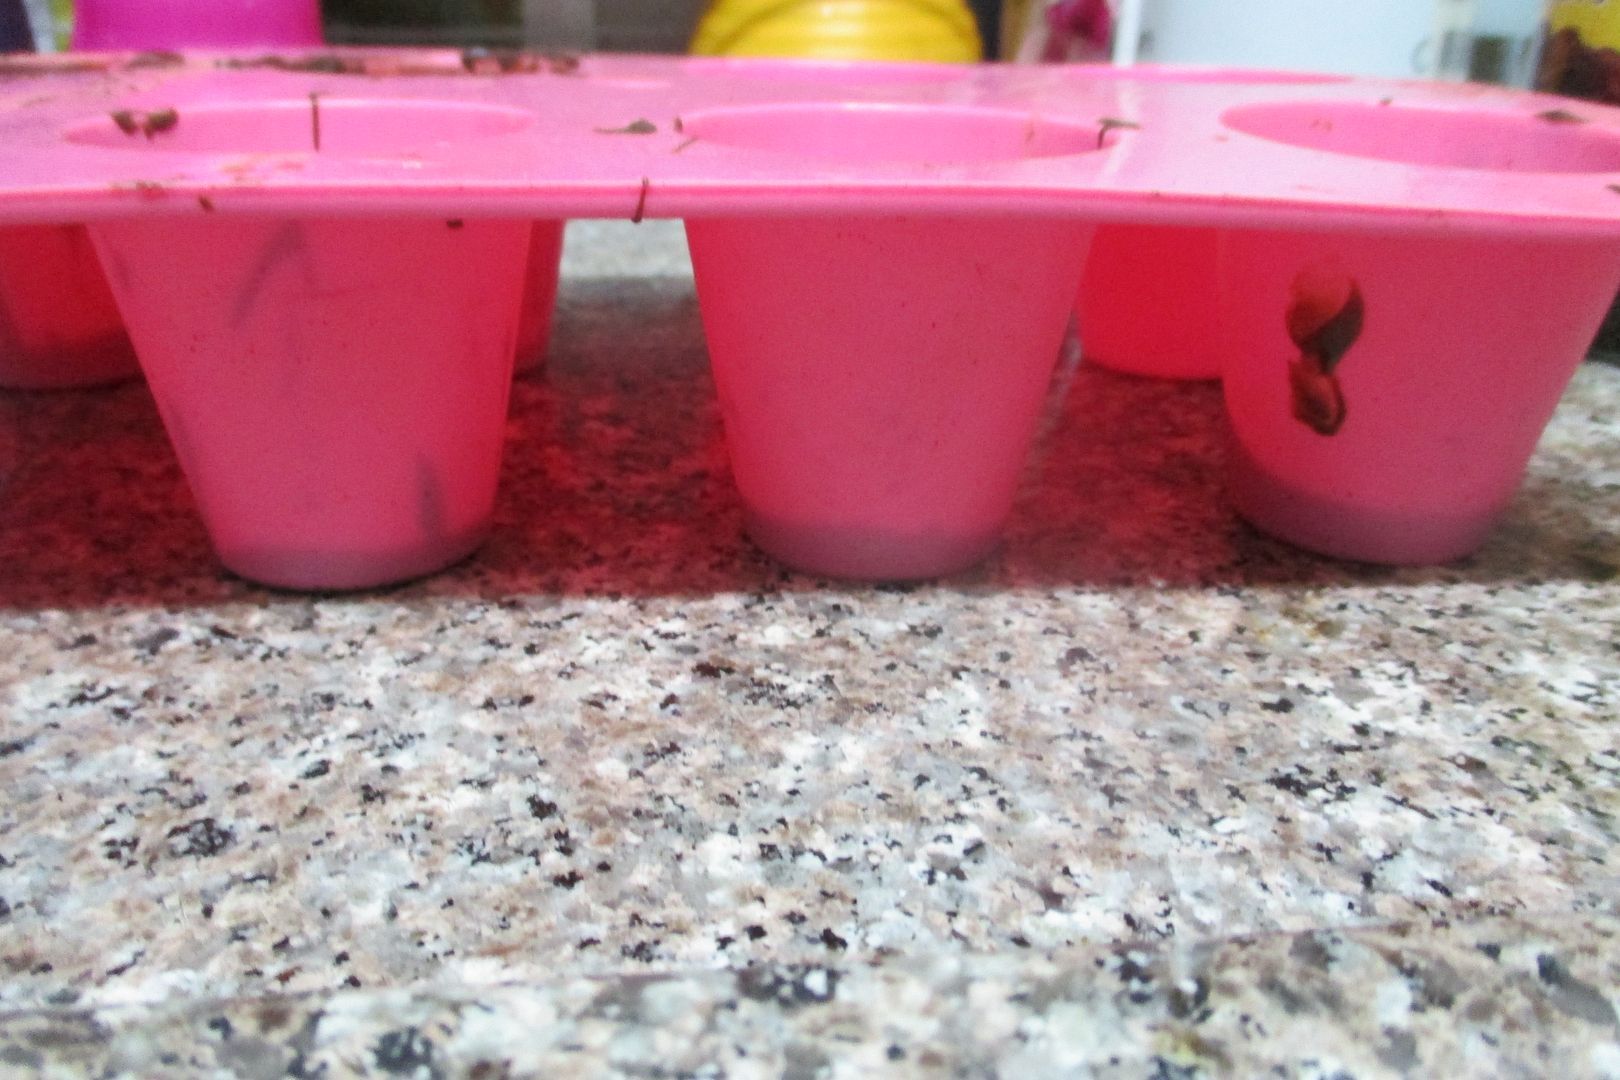
1. First you want to make sure you actually have mini muffin tins. I actually didn't, so was going to use my little silicon flower molds but my kids really didn't want flower shaped chocolate coins... Fortunately, I remembered that I had these weird shaped muffin tins, that are tall and have a smaller circumference at the bottom (maybe they're not even meant for muffins? Who knows... That doesn't stop me- I make muffins in mine anyhow...) so realized that they would be the perfect size for the coins. So yea- make sure you have your mini muffin tins, or at least something similar.

2. Melt your chocolate. You can do this in a bowl in the microwave- I can't tell you the exact process since I don't have one... but google should tell you how long to microwave chocolate to melt it... Alternatively, you can do what I do and make a homemade double boiler- just stick a little pot (I actually just use a small metal bowl) into a bigger pot filled with boiling water, bring the water to a simmer, and wait for the chocolate to melt, mixing it to help it along. Last option- stick the chocolate in a dish in a hot oven for a little bit (again, I can't tell you minutes) until it all melts.


3. And oh- if you want flavored chocolate, add your flavorings into your chocolate now. I added a little bit of oil based peppermint extract into my chocolate during the melting process- any oil based extract will work, as will dry ingredients like coffee powder, etc... Liquid based extracts will not work and will hurt the chocolate. Next time I make this I'm going to try adding a drop of peanut butter into my chocolate at this stage to try to make Reese's flavored chocolate coins.

4. Spoon your chocolate into your muffin tins, using a small spoon, so that you don't get chocolate on the sides of the tin.

 photo IMG_2473_zpscee6b3a8.jpg

I find a teaspoon and a half or so to be the perfect amount of chocolate so that it is thin enough that its like a coin (and not a lump of chocolate) but not too thin that it is flimsy. Since my muffin tins are light colored, by looking from the side, I am able to see the level of the chocolate (harder to do from on top), and adjust as necessary.

 photo IMG_2477_zps80ad0335.jpg

5. Only spoon chocolate into one or two coins at a time, because you want to quickly bang the muffin tin down on the counter while the chocolate is still hot, so that the chocolate settles down and becomes flat and coin like. I put my silicon muffin tin on a metal tray to do the banging. You probably should keep it on a tray the whole time, since it ensures that your muffin tins are flat and the chocolate dries flat and not lopsided.

6. Once your molds are filled, let them cool off. If you have room in your fridge or freezer to put the tins in flat and unsquished, this will go much faster. My fridge fortunately or unfortunately (depending on how you look at it) is packed to to the brim and had no room for my muffin tins, so I just set it down on the counter to cool off. This will just take longer, but works just as well.

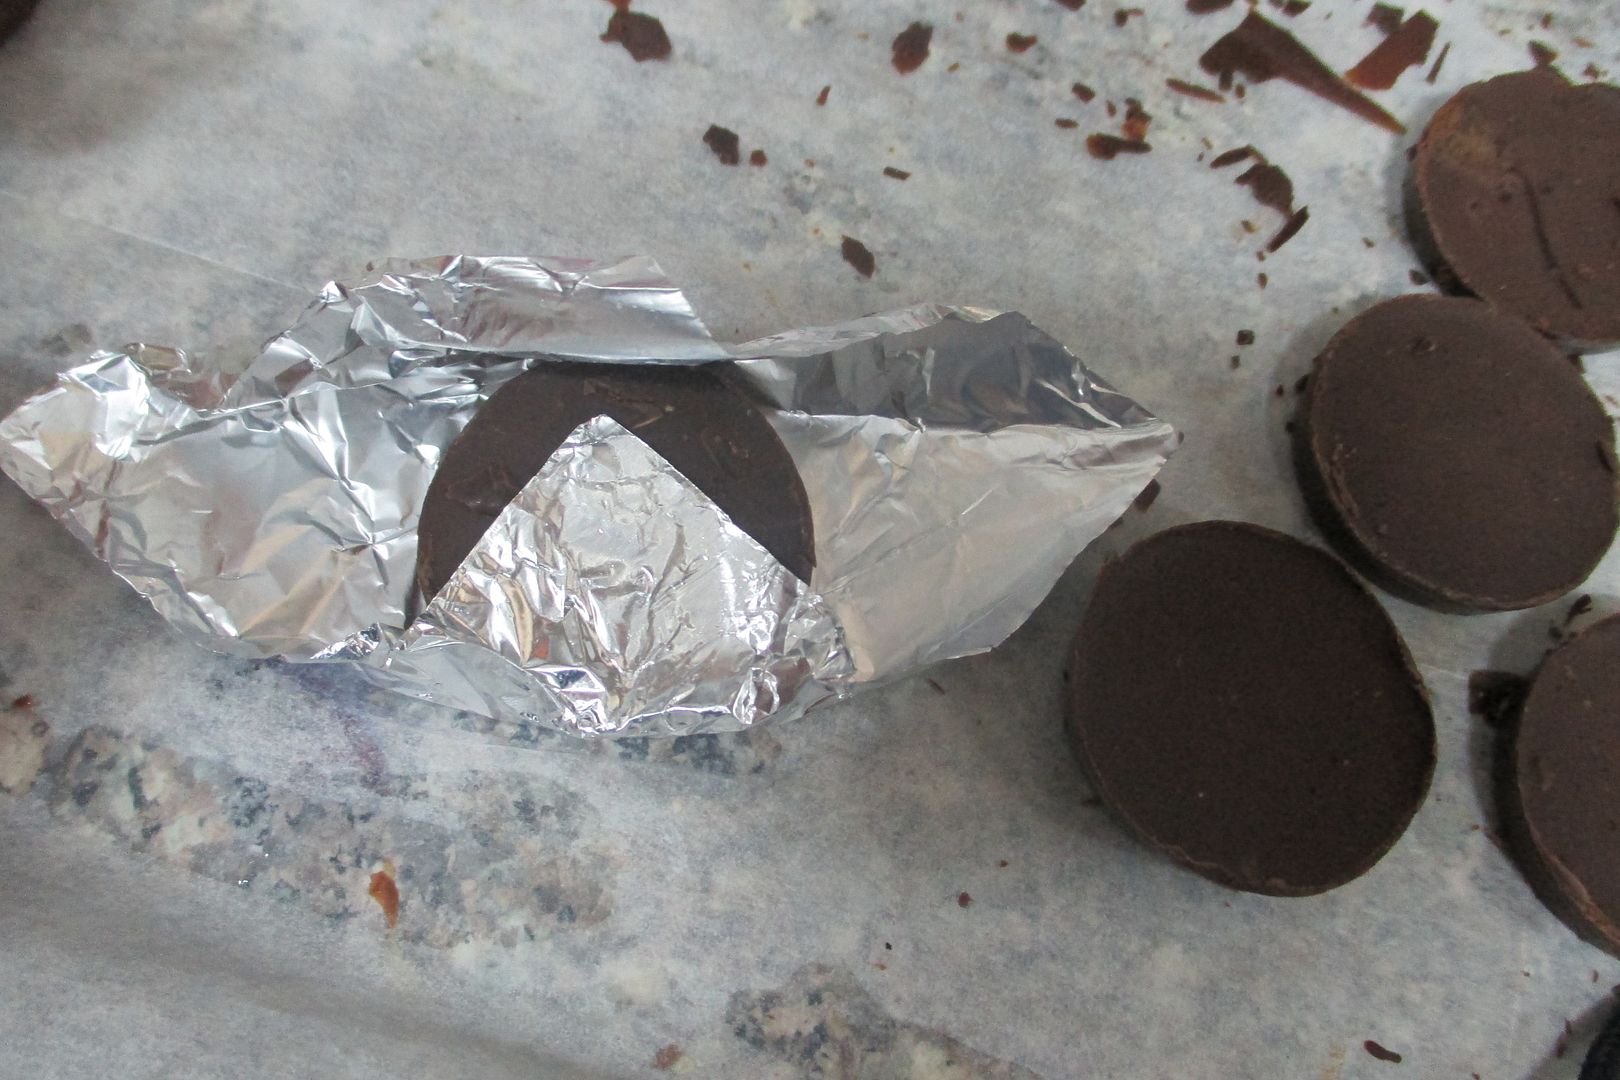
7. When your chocolates are fully hard (you need it 100% hard, not bendable at all), pop them out of the tins, making sure not to break them. Any chocolate coins that don't look "right", plus any chocolate that went on the sides of the tins, should be put back in the double boiler to remelt.

 photo IMG_2485_zps58d8f1de.jpg


8. Do this with all of your chocolate.

9. Now's the wrapping stage. You can use expensive gold foil. I used cheapo aluminum foil.

10. Just cut squares and wrap. In case wrapping isn't self explanatory, here's how I did mine:

11. Cut squares a little bigger than your coins.

12. Position your coin in the middle of the aluminum foil square (that you're holding rotated, corner down) and fold up the bottom corner so it crosses the middle of the coin.

 photo IMG_2486_zps331c8adc.jpg


13. Pull down the top corner over the chocolate coin, so that it overlaps with the bottom corner, and making sure it is pulled so it is taut/tight.

 photo IMG_2487_zpsb8f68552.jpg


14. Cut off any extra foil on the sides, and then fold in both sides the same way.


15. You'll end up having this less attractive side at the back...


 photo IMG_2488_zps1b33bf1d.jpg

16. But the front will look nice and pretty. If you see it actually has any "corners" and/or pointed edges, just flatten those with your fingers.

 photo IMG_2489_zpsf7deed38.jpg

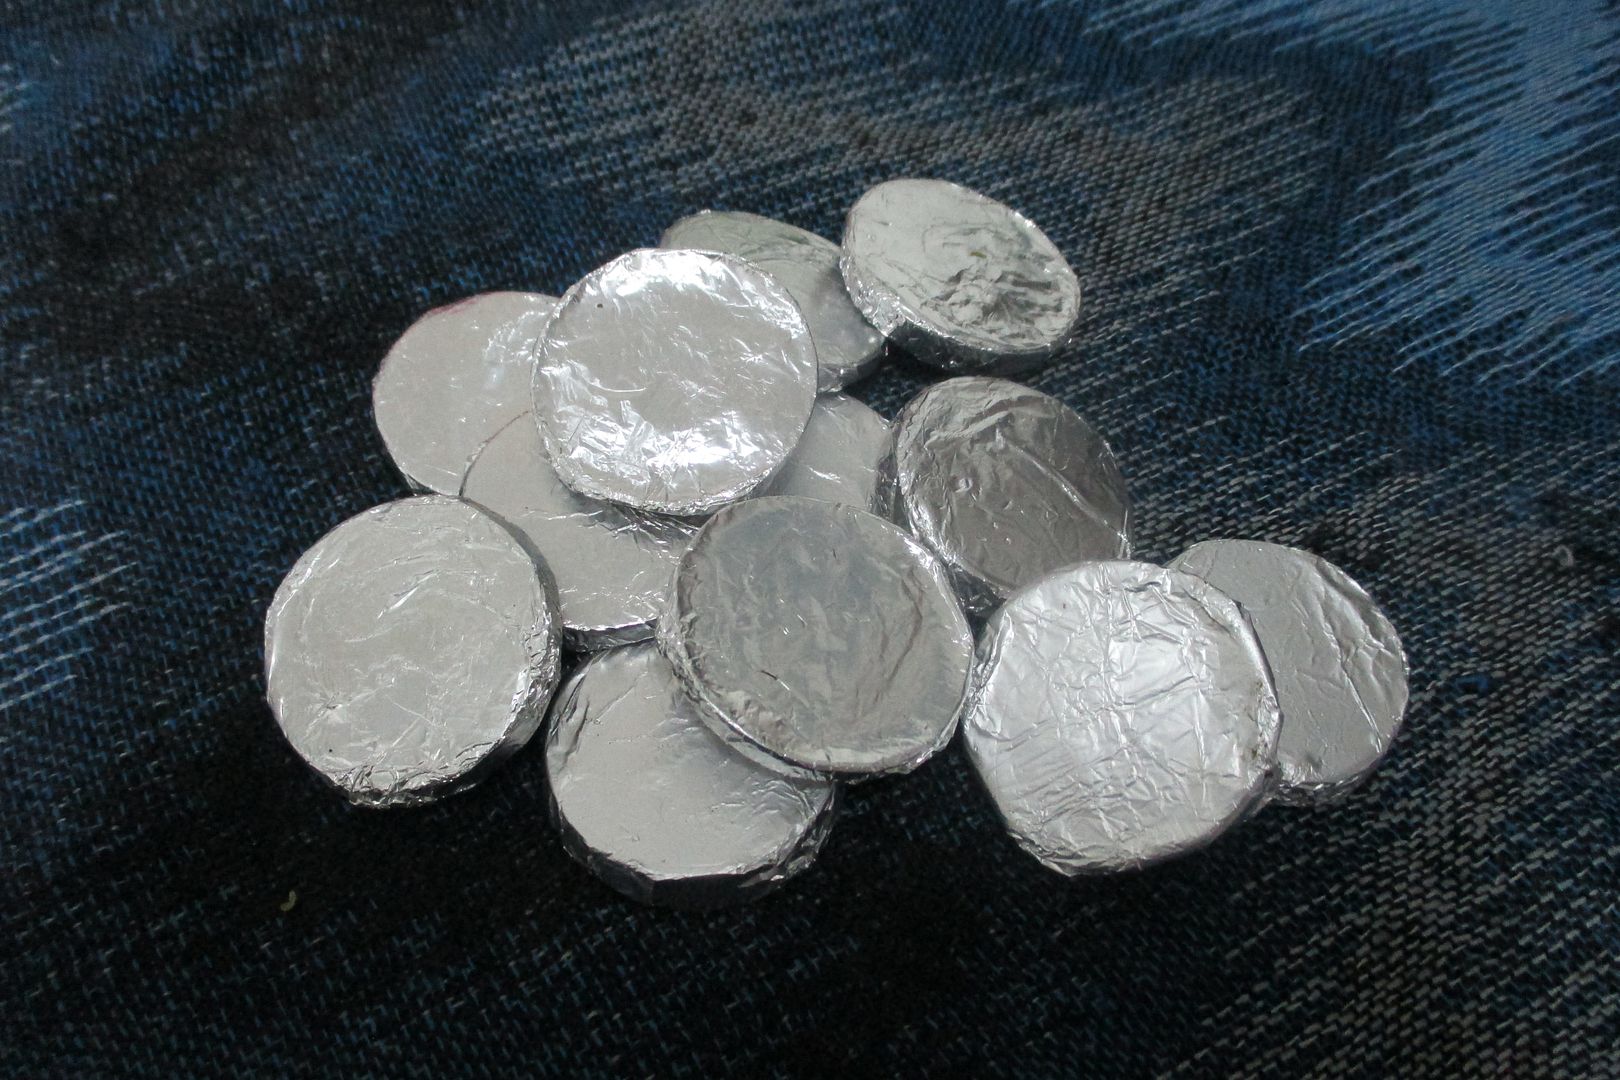
17. Voila. That's it!

Show me the money!

 photo IMG_2483_zps52d55fae.jpg

Enjoy!

See- I told you it was simple!

P.S. I forgot to say- my kids were totally thrilled with this, more so than with regular chocolate coins. Despite the fact that there's no "printing" on the coins. They even liked it better than store bought because they were thrilled that they made them themselves. So this is a win-win situation.

Are you or your kids fans of chocolate coins? How much do they cost where you live, and how much compared to regular chocolate? Does this look like an activity you or your kids would enjoy? Is this something you think you'd try out?
Any chance you'd make specialty flavored chocolate coins? What flavors would you make?


Penniless Parenting

Mommy, wife, writer, baker, chef, crafter, sewer, teacher, babysitter, cleaning lady, penny pincher, frugal gal

16 Comments

Thank you for leaving a comment on your blog. Comments are moderated- please be patient to allow time for them to go through. Opposing opinions are permitted, discussion and disagreements are encouraged, but nasty comments for the sole purpose of being nasty without constructive criticisms will be deleted.
Just a note- I take my privacy seriously, and comments giving away my location or religion are automatically deleted too.

  1. Excellent activity! We are going on holiday for a long weekend and will be in a hotel suite with a kitchenette that has a microwave. I was planning to bring chocolate for making sm'ores, but I think I'll bring some silicon molds (I have indivual ones you can use for bento etc.) and have this as a nice back-up activity for the older kids while the littlest one naps and then they can all wrap the coins together :) So much fun!

    ReplyDelete
    Replies
    1. Awesome! Hope they like it! What are the ages of the older vs the younger ones?

      Delete
  2. I like how you saw that the duds SHOULD get melted again to make a good one, instead of going straight into my mouth to destroy the evidence of a failure.

    ReplyDelete
    Replies
    1. Haha. Cant deny that some of the duds did end in my mouth... lol.

      Delete
  3. A easy tip you could put the chocade in a ziplock back close it put it in a bowl with hot water on till all the chocade is melted the you could cut off a little piece of the bottom corner and squees it right in to the molds i other small tip open the ziplock back before you squees it so it wont explode

    ReplyDelete
  4. By the labor-intensive process that you describe, I wonder if it's "cheaper" to just splurge once in a while and buy those coins rather than spend mommy-hours on melting, cooling, wrapping, and, of course clean-up. The cost is not even half of pre-wrapped coins!

    ReplyDelete
    Replies
    1. I made it 42% cheaper than store bought on sale. Not quite half the price, but close to it. And store bought not on sale is even more expensive. And if you buy chocolate in bulk or use cheaper quality chocolate, its up to 62% cheaper than the store bought on sale stuff (and even more of a discount compared to non sale chocolate coins). It may sound labor intensive, but it really wasnt a lot of work, and it was fun. Definitely not hours worth of work. And it was a great activity.

      Delete
    2. I agree with breathingspace- this could be fun purely as a food/crafts project, but I can't see anyone doing this to save money on chocolate coins. You say you're saving such big percentages of money, but it's still just a few cents or a dollar. If you're so hard up that you can't afford the extra bit of money to buy chocolate coins in the store, then your financial problems are so dire that making your own coins isn't going to help.

      Delete
    3. If I was really hard up, id be skipping the chocolate coins entirely cuz they're a want, not a need. But I dont agree with your assessment- if I am going to be going through 5-10 bucks worth of chocolate coins for an event, and for a little bit of work (thats fun) it can cost me half that amount, why not? Its not about the 2 dollars saved one time that makes a difference- its a lifestyle of making things from scratch instead of buying ready made that adds up, 2 dollars here, 50 cents there, 10 dollars there, 4 dollars there, that really does make a big difference overall. And that does make a huge difference. Because those small amounts do add up to be a significant difference.

      Delete
  5. My guys had a great time with this...thank you!

    ReplyDelete
  6. Oh wow...chocolate coins. You just hit my "nostalgia bone".

    I had a store bought coin recently, and even though the chocolate was absolutely horrendous I still have fond memories of the stuff from back when I was a kid.

    ReplyDelete
  7. You are amazing. I love the ones that don't realize for us it is fun to make homemade, control our ingredients even if a treat, and a penny saved is a penny earned. But those things never matter to the ones not earning the money :), as I am sure in the case of some of your followers who don't understand basic savings, debt free, or economics.

    I have been reading you for years, had a huge blog and social following for a political account ( I know I know) and took a break. I give you so much credit.

    Hugs and Love,
    Angelmama

    ReplyDelete
  8. I think the first anonymous missed an important part of the chocolate coin making, its also and most importantly about spending time with and doing something fun that your children and take part in.

    ReplyDelete
  9. Do you think this would still work in a metal muffin tray?

    ReplyDelete
Previous Post Next Post