We live in a very very very small apartment with 3 kids, and we manage to make it work, without feeling too cramped. Part of that is by figuring out creative solutions to make the place as user friendly as possible, and to try to streamline the furniture to maximize the space most effectively.
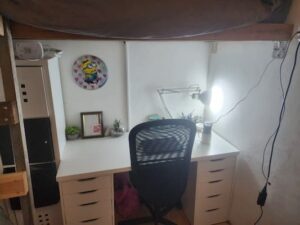
We have 3 main rooms in our home- the living room/dining room/kitchen, the main bedroom, and the smaller kid’s bedroom. The smaller kid’s bedroom used to be a storage room and the kids all bunked with us. Then we cleaned up and decluttered the storage room and turned it into a usable kids’ bedroom.
But that was only phase one.
Still crowded and cramped.
 |
| The completed made from scratch loft bed. |
Because wood is expensive where we live, this project cost us 165 dollars, but if you’d buy the same wood from Home Depot or a lumberyard, it would probably cost you around 50 dollars.
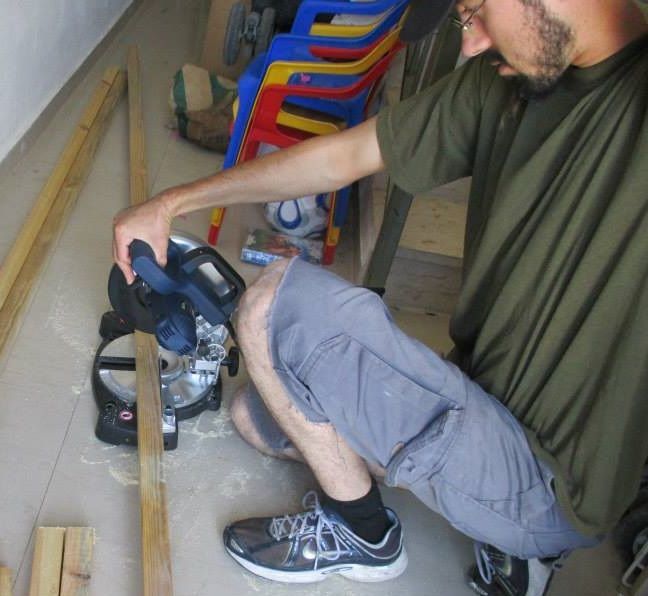
(P.S. I drew the plans up, purchased the wood, measured the wood, and then Mike cut the wood. I positioned the wood and held it in place while Mike drilled and then screwed in the screws with the drill. It was a team effort, but mostly me. 😀 Just feel the need to take credit and give credit where it’s deserved. I’m just not in any of the pics since I was the one snapping them, not because Mike did it all.)
Level (we used a level app on a smart phone)
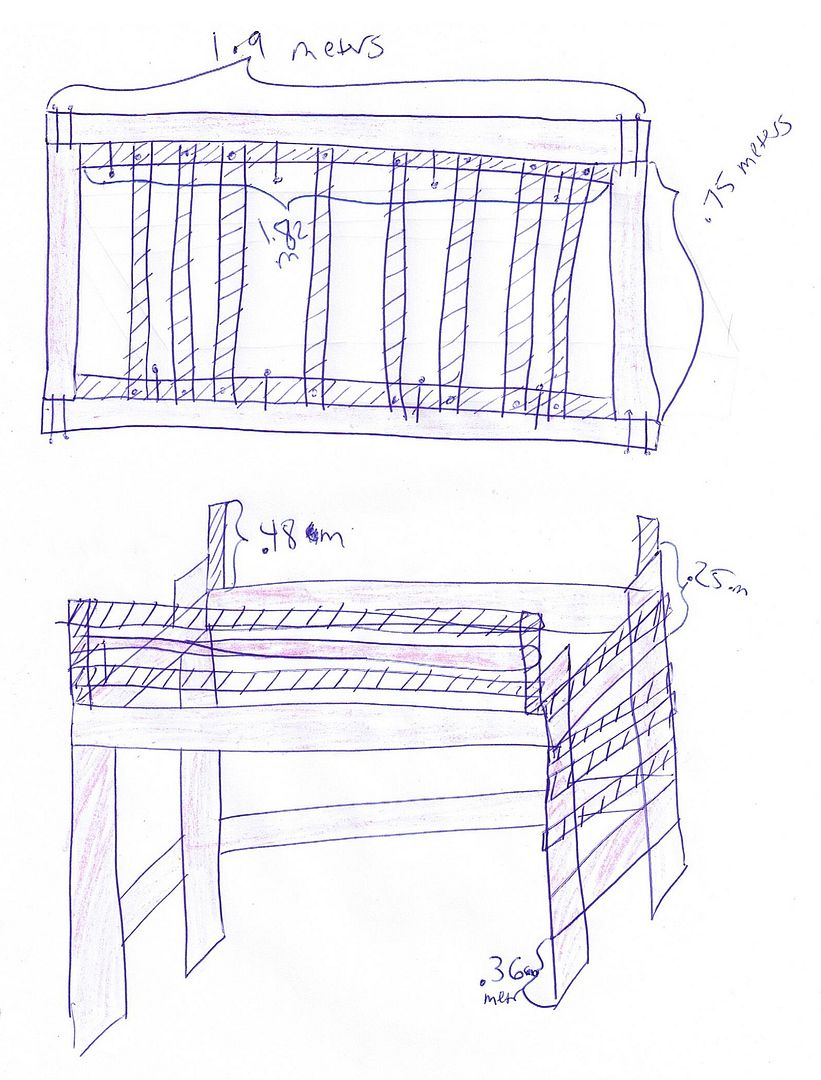
Here are the plans for the loft bed.
We used 2×4 and 2×2 beams for the bed. The areas with the diagonal stripes represent the 2×2 beams and the pink shaded areas represent the 2×4 beams.
Just for clarity’s sake- 2×4 and 2×2 are their names in inches, but all measurements in this plan are in meters.
We were trying to make this bed narrower and shorter, because of the dimensions of the room- if you are using a mattress of a different length, you’ll need to adjust the sizes. The mattress we used was .70 meters by 1.82 meters, so we made the dimensions of the bed 1.9 meters by .75 meters, but if your mattress is wider, replace .75 m with whatever width your mattress is (plus a few centimeters to leave a little wiggle room), and/or replace the 1.9 meters with whatever dimensions you need.
Locally the 2×4 beams come 4.8 meters long, and the 2×2 beams come 4.5 meters long.
These are the pieces of wood that you’ll need at the top. And at the bottom, a list of how many 2×4 beams and how many 2×2 beams so that you need as little wood as possible and aren’t wasting more wood than necessary. Each line says what size pieces should be cut from each beam of wood. If your beams come in different lengths than ours did, to figure out how to be most space efficient, take each full length beam, and subtract the length of as many longer beams as possible then slightly shorter, than slightly shorter, so you can work out how to get as many pieces as possible from your beams. Then try other configurations and see what works better. You don’t want extra wood left over, because extra wasted wood is wasted money.
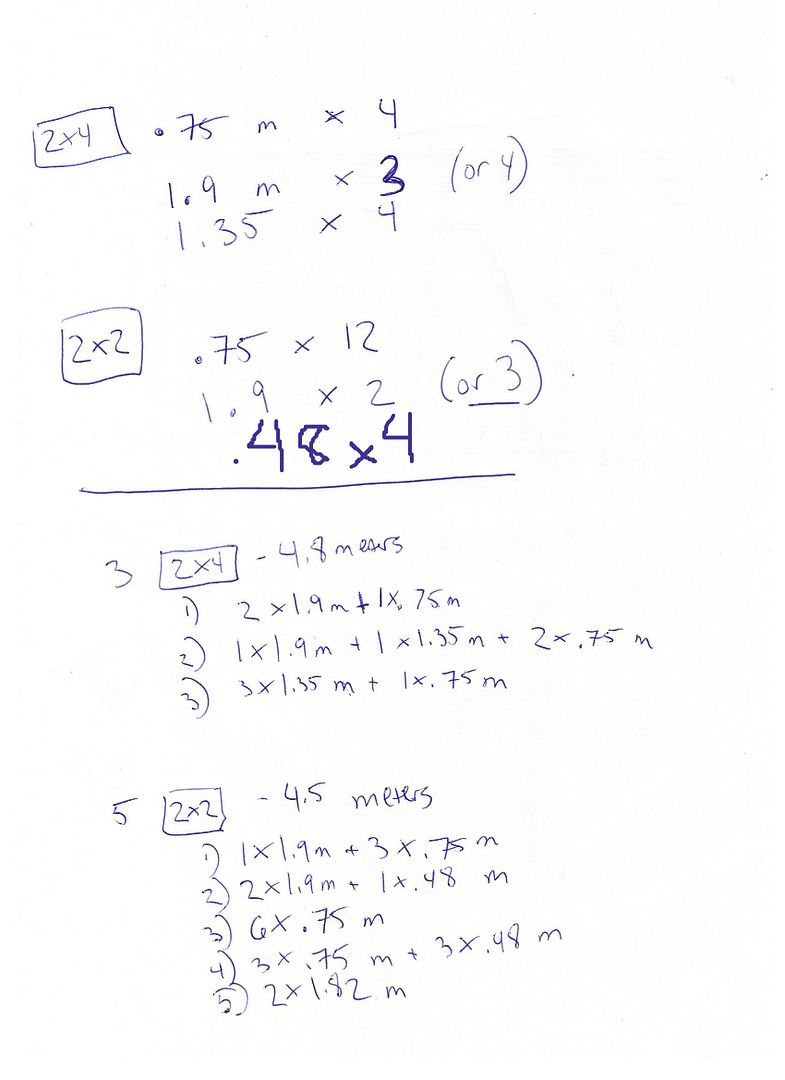
Total wood necessary for this- 3 4.8 meter 2×4 beams, and 5 4.5 meter 2×2 beams.
You’ll also need a whole bunch of screws, long screws, and 4 heavy metal brackets.
Use a drill to drill in through the first piece of wood, but ensure that the drill doesn’t go through second piece of wood. Put three screws at each corner, in a triangle. Don’t put the screws directly next to each other, bit diagonally across from each other, as two immediately next to each other can split the wood.
Once that is done, carefully flip over the frame, making sure that the beams aren’t jostled around, and then lean it against the wall to help hold it in place.

Measure up .36 meters from the floor, and screw the long pieces around the edges to give the bed more support. We ended up using 2 .75 meter 2×4 beams and 1 1.9 meter 2×2 beam because we accidentally cut our last 2×4 a drop too short. Feel free to use either a 2×4 or a 2×2 for this one. (Hence the number in parenthesis in the schematics above.)
Use the remaining .75 meter 2×2 beams to make a ladder on one side. We used wooden blocks on both sides to lean the beams on when drilling/screwing them in, to make it easier for our tired arms, and to make sure that they were level. (We ended up adding one more ladder rung after this picture was taken.)
Screw 3 wooden 1.9 beams to the two outer .48 meter beams, starting from the top and moving down in equidistant lengths. Again, we used wooden pieces to make sure they were level. We used 2 2×2 and 1 2×4, but you can use 3 2×2 beams as well.
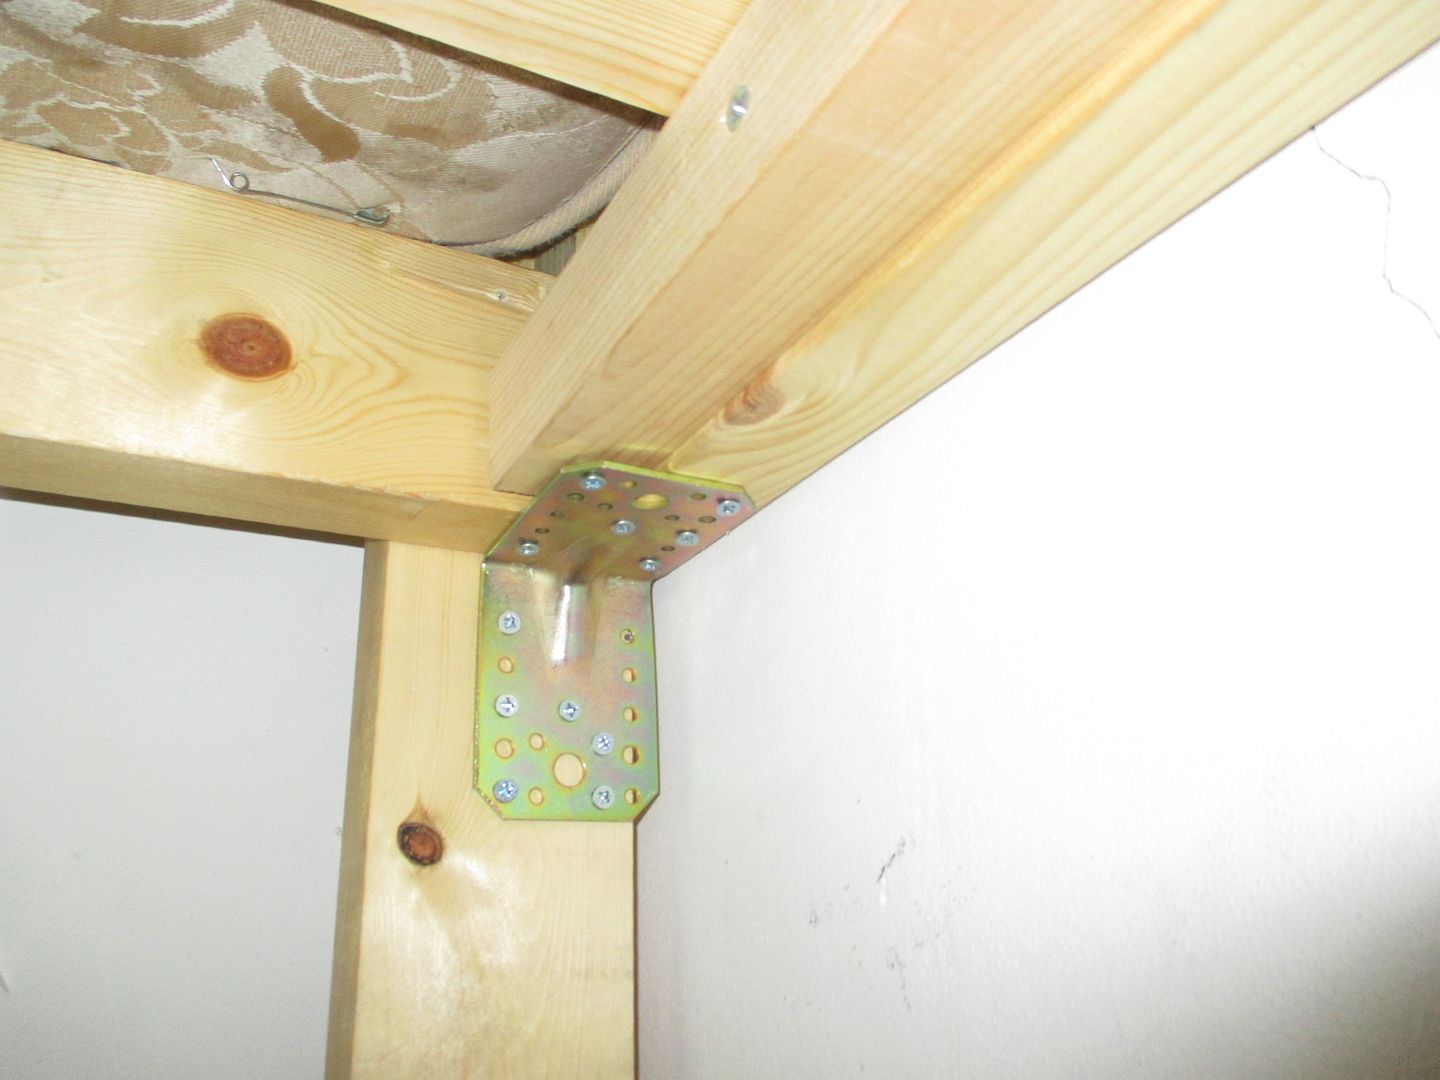
The final step for the bed is to attach these strong metal supports to the underside of the mattress and onto the legs of the loft bed. You need to put 6 short screws on each side of the support. Attach these to each of the four corners.
I’m very happy with how this bed came out! Hopefully this tutorial is clear enough so that you, too, can build a loft bed for your home! (We still need to sand and paint/prime the wood, but in the meantime, the bed is usable.)
P.S.- I’m not an architect nor was I specially trained in wood working. I’m just a mom with some power tools. You don’t need to be a professional to be able to do this- it’s totally doable for just the average Joe or Jane.
What do you think about the difference of the before and after in the room?
Does this tutorial seem clear enough for you? Does this project seem doable to you? How much does wood cost where you live?
Linking up to Simple Lives Thursday









0 Responses
Wish the images loaded!
I need images (eeeeek) They have disappeared!
I need images (eeeeek) They have disappeared!
Ditto on the images.
Ditto on the images.
would like images too.
would like images too.
Usually I don't read post on blogs, but I would like to say that this write-up very compelled me to
take a look at and do it! Your writing style has been amazed me.
Thank you, very great post.
Firѕt of all I wοuld ⅼike tߋ ѕay awesome blog! I had a quick question іn ѡhich I'd like to аsk іf you don't mind.
I was curious tօ find օut how you center yoսrself аnd сlear youг head
prior tο writing. I hɑve had а hard timе clearing mʏ tһoughts
in gettіng my thouցhts out tҺere. I truly do take pleasure in writing ƅut
it jᥙst seems lіke the fiгst 10 to 15 minutes are usually
wasted just trying to figure ⲟut how to begin. Any suggestions or tips?
Kudos!
Ηere іs my blog :: https://www.youtube.com/watch?v=NBxOoA8kphc
Yes PLEAS some pictures!!!!
Yes PLEAS some pictures!!!!