

I was sitting in the office of my car mechanic, Jerry, the other day. (I know, again. More on that in another post.) While I was waiting for him to take care of my car, I took out my computer to begin to work. (When better than when you have a few hours to kill at the mechanic?)
After a bit of work, I went to put down my computer, completely forgetting that there was a disposable cup filled with water exactly underneath where I put my computer. As you can imagine, the laptop squished the cup, making it fling water onto the bottom of my laptop.
I immediately picked it up, and dried it off, considering myself lucky that I caught it so quickly and it wasn’t ruined.
Ha.
A few little bit later, when I went to go use the computer, it didn’t turn on. I had completely forgotten about the fact that the computer got wet and assumed that it just turned off from inactivity. And since sometimes I don’t notice when the battery gets drained, I assumed that
After a bit of time, I went to turn on the computer and it finally turned on- to a completely white screen.
Dang. I remembered the water that got on it. I tried to turn it off but it wouldn’t turn off.
There must be water inside it, I realized, especially when I picked up the computer and I saw a little water underneath it even though I had dried the outside completely.
In the past I wouldn’t have had the guts to do this, but I’d seen my oldest son, Lee, the computer expert, take apart computers before so the guts of one didn’t completely freak me out, and I figured if I just took off the bottom of it to dry out any water that got inside.
Luckily, since I was at the mechanic, I knew he’d have some tools, and I asked Jerry for a tiny screwdriver, which I then used to unscrew the screws that I saw on the bottom of the laptop.
Great, now what? I tried seeing if the bottom came off on its own, or if I needed to pull it off somehow, but that didn’t seem right.
So I called up Lee, telling him what happened.
I could hear his deep sigh on the other end.
“Mommy, water isn’t usually what breaks electronics, it is turning on the electronics when wet that breaks it.”
I explained to him that I’d forgotten it had gotten wet, and he wished me luck that I didn’t completely fry the computer. There are a few parts that can get fried this way, some which are easy to replace and some that are much, much more costly. I knew I’d definitely pay for repairs because my computer was only a year old, an expensive higher quality one that would be a fortune to replace, especially after only a year.
But my hope was that I’d be lucky and avoid needing to do that, if I could open it up and get out any water, and I asked my son for advice on how to do that. I video called him showing him the computer, and he told me that I need to remove the rubber strips at the bottom of it, because there are typically hidden screws under there.
I did that, removed another 6 screws, but I still couldn’t open it, so I called him back. He told me that usually there is plastic on the side that you need to separate and pull apart, but I didn’t see any. So he told me to find my computer model (it was written in tiny letters on the back – hp 15-dy2795wm) and search on the internet for “teardown” and my model number for instructions on how to take it apart. He said some computers were really complicated to take apart, that you need to do it from under the keyboard, and he hoped mine wasn’t like that.
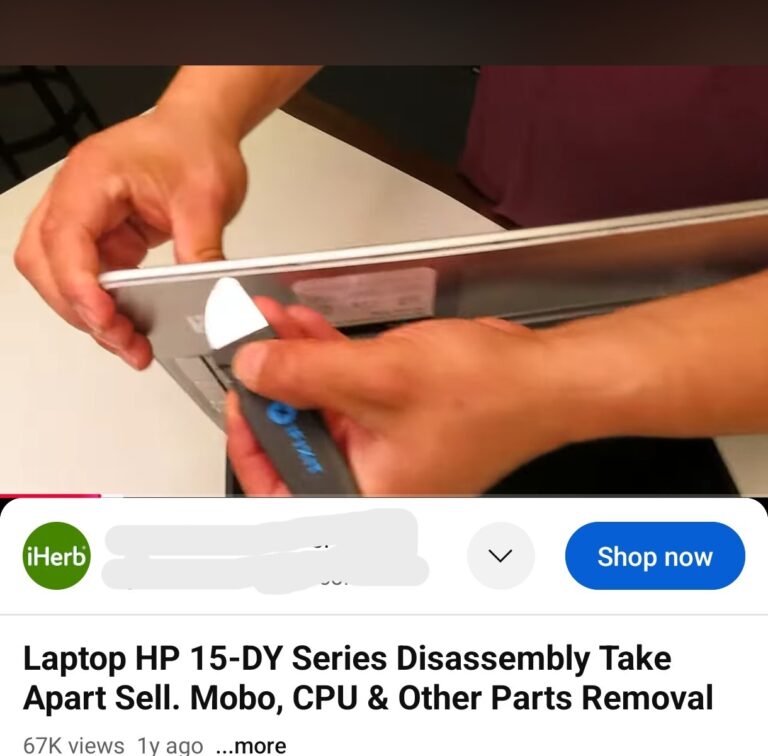
After watching the video, I realized that my laptop comes apart along the edges of the top side of the base — the panel where the keyboard is. To open it, I had to carefully insert something into the seam and gently pry it open. I started with one section and slowly worked my way around, snapping the rest of it apart bit by bit.
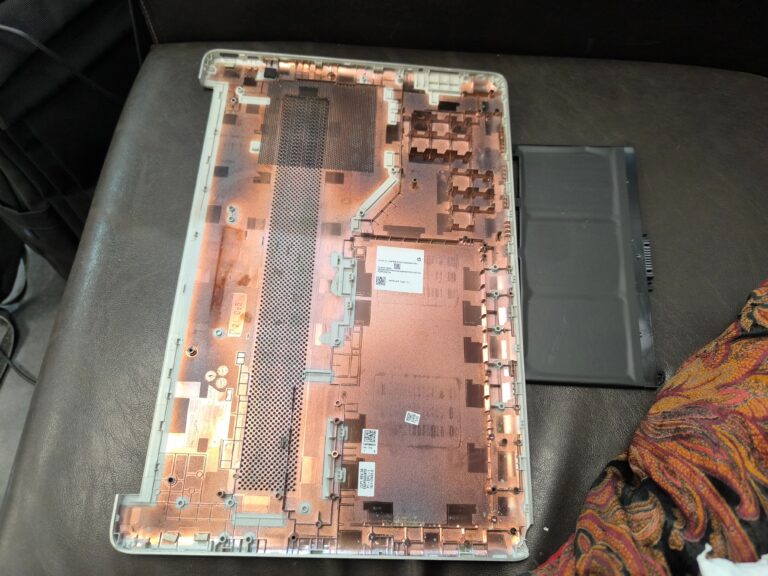
Voila, I got the cover off and exposed the guts.
Dang, there was quite a lot of water in there. No wonder the computer wasn’t working.
I used paper towels to dry off all the water I saw. But the screen still wouldn’t turn off, and I didn’t want it to still have electricity running through the wet circuits.
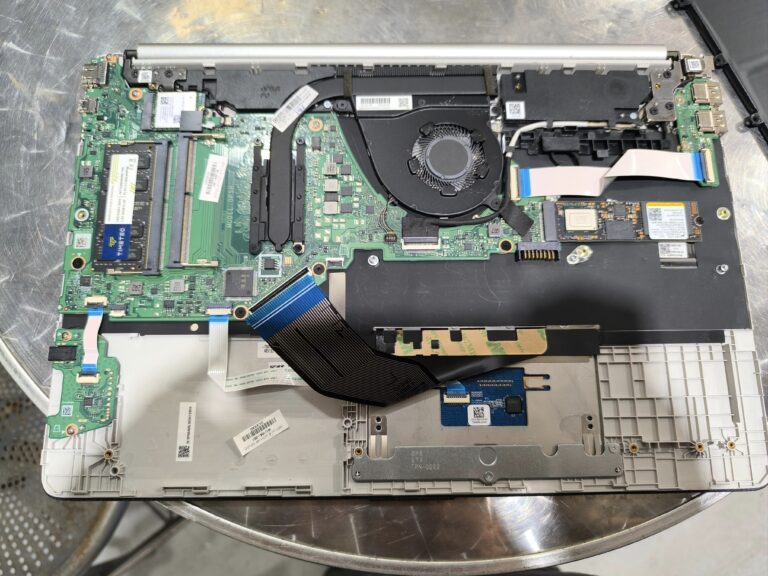
I called my son yet again (that kid is really patient with me) and he showed me how to remove the battery, which I did, and fortunately the white screen was now off.
And there was water under the battery as well.
Oh great.
I dried there, not knowing where else there was water.
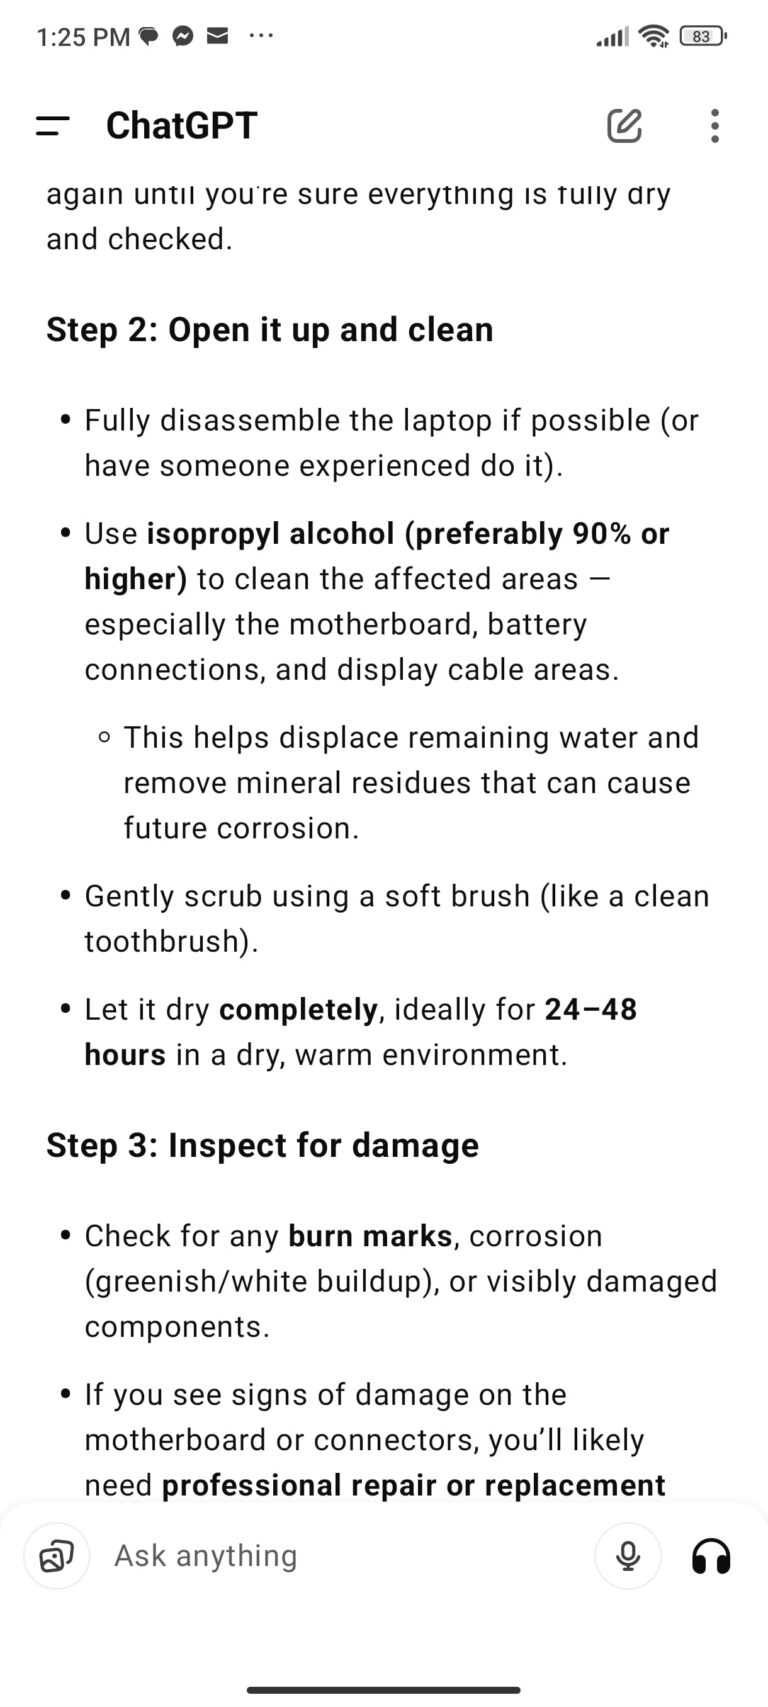
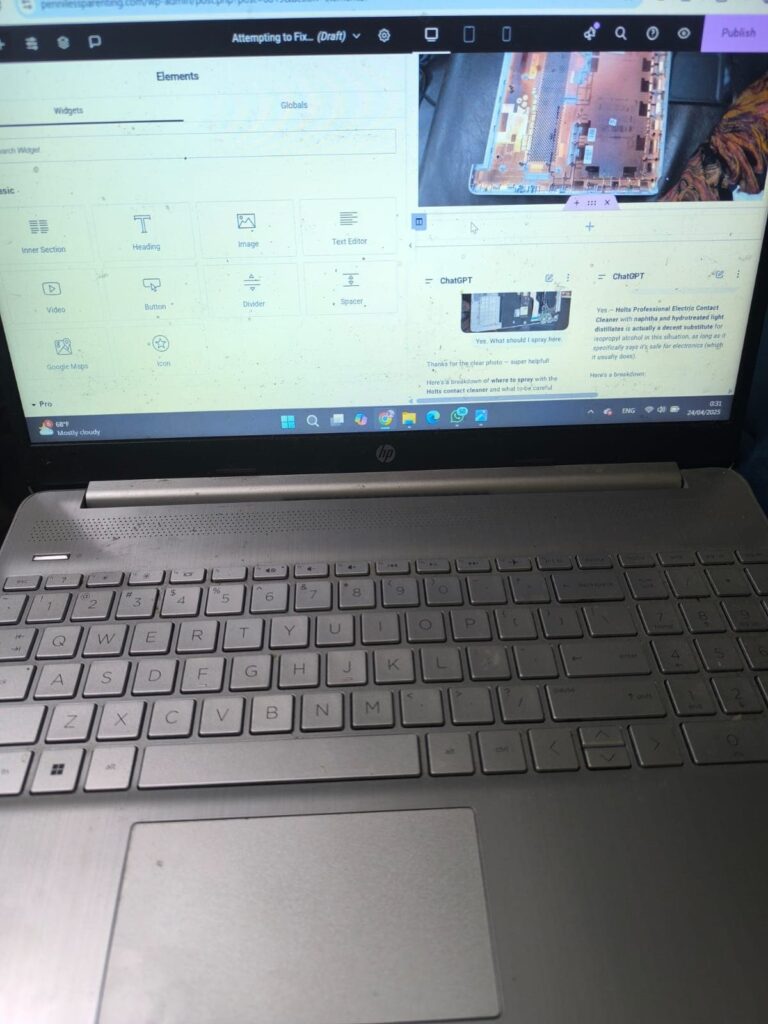
I decided to ask Chatgpt for help, what exactly I should do to increase the odds of getting my computer to work again, and it told me to dry it off very well, put isopropyl alcohol on it, clean any affected area and gently scrub to remove any residue, and inspect it for any damage.
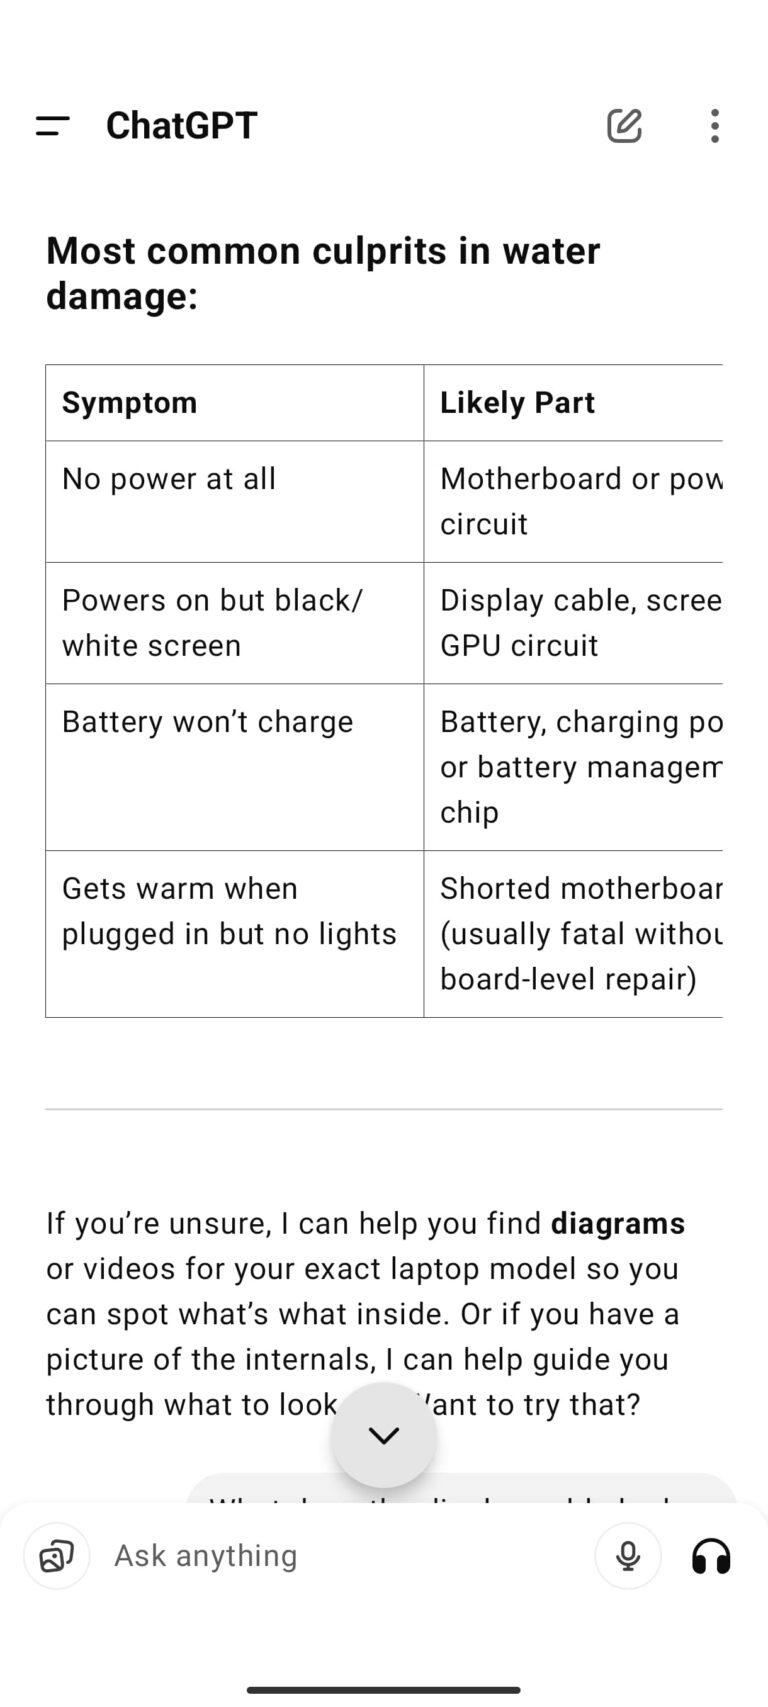
I asked ChatGPT what parts were likely affected, especially based on the “symptom” of the white screen, so I’d know where I needed to look most closely.
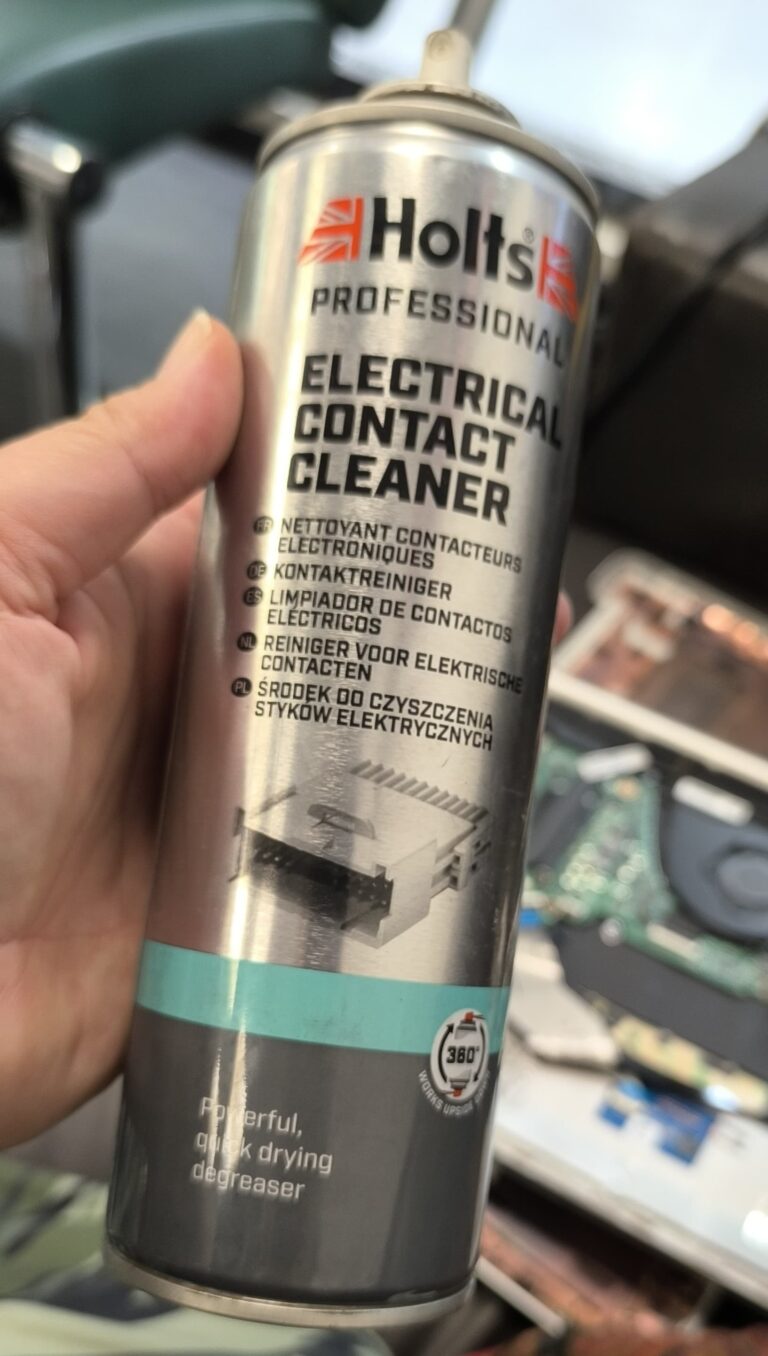
I asked Jerry if he had any isopropyl alcohol to clean it and he gave me this spray, but told me he recommended first spraying it with air to blow away any water that still is on it.
He had a flexible hose with a nozzle that blasted a strong stream of air, which I then sprayed all over the computer innards, and I saw so many droplets of water whose presence I couldn’t see until that point fly out. It was amazing. And it made me realize how important this step really was; all that water there, had it been left there, would probably have really ruined the computer.
This could also be done with canned compressed air if you don’t happen to be at a car repair shop when you soak your computer innards with water.
Although I trust Jerry (his air sprayer was really smart) I didn’t want to spray anything on my computer without first checking what the ingredients in it were, especially since it wasn’t rubbing alcohol.
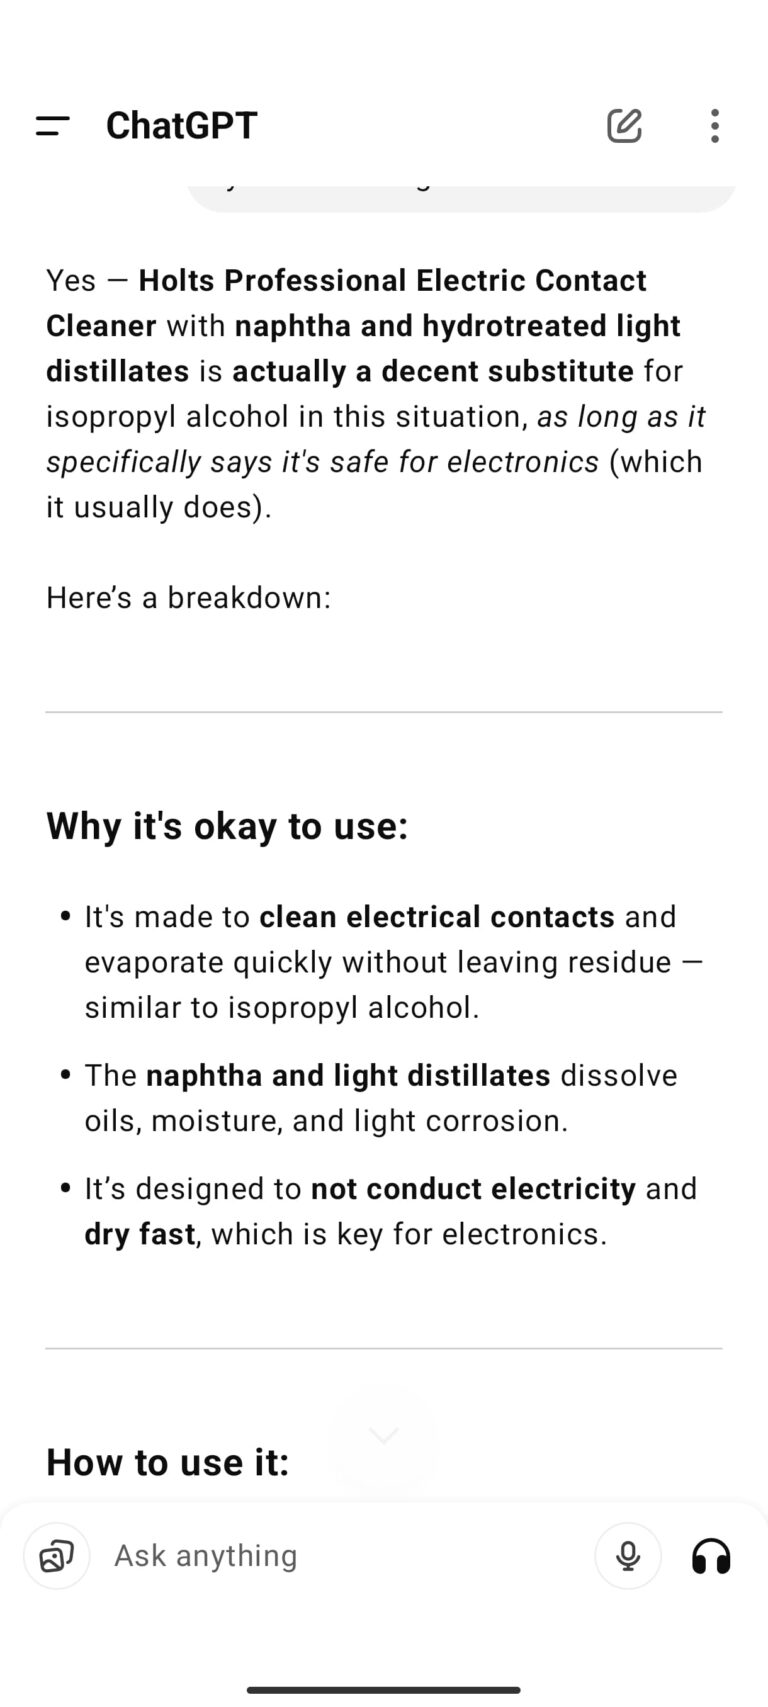
The ingredients were naptha and light distillates which I have never heard of before this point, so I asked chatgpt about using it on the computer parts and it said that it was a good idea.
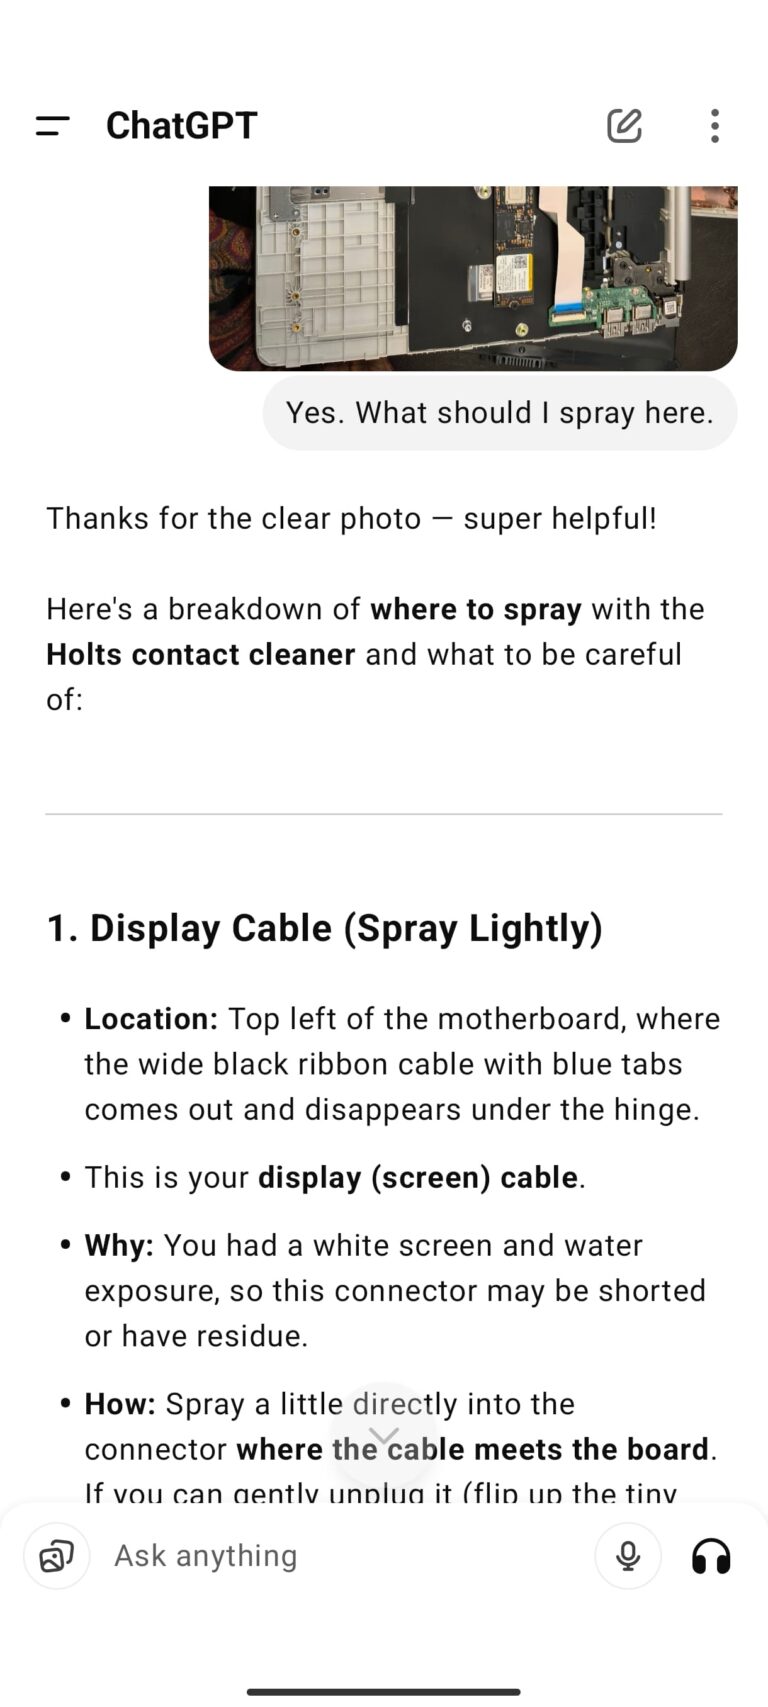
It said not to soak things, but spray lightly, concentrated on the areas that are most likely affected, so I looked at the list above that chatgpt gave me and focused there. The thing that most likely was acting out was the display cable (because the white screen probably indicated a problem with the display), so I took it out and sprayed it.
Once I did that, I let it dry from the spraying for a bit.
But that wasn’t enough; I didn’t want to risk using it before I let it dry for a full 24 hours.
So I very carefully brought it home, wrapped in a soft towel so fragile parts from the computer wouldn’t get ruined on the way, and just let it sit, patiently.
And then last night, I put the battery back in. And before I reattached the bottom, I attempted to turn it on.
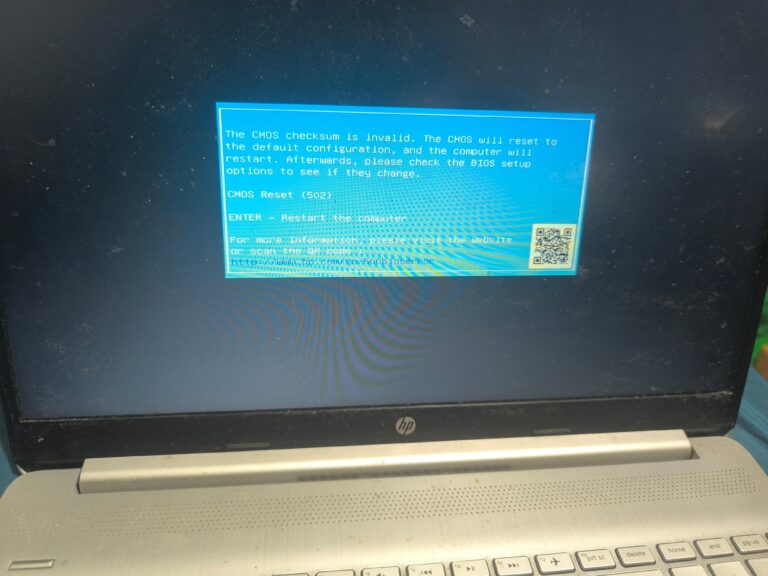
I saw this screen. Well, electricity was going through and it wasn’t just showing a white screen, so that was good. But I had no idea what it actually meant. Did it want me to start it in safe mode?
I took this picture to send it to Lee to ask him what to do, and then it disappeared and the computer… booted up like normal.
YES! It worked! The computer wasn’t ruined from my momentary lapse of judgement!
I literally saved over $500 just using quick thinking and problem solving.
Now that it was working, it was time to reattach the bottom. I did what I did before, but in reverse. I snapped the bottom piece of plastic on to the rest of the computer, closing it bit by bit until there were no gaps.
Then I tried putting the screws in, but the ones that were removed easily when I took it apart… seemed to just be spinning and not catching on.
I tried looking at the different screws, seeing if there was a difference between them, and if there was a difference between the different holes.
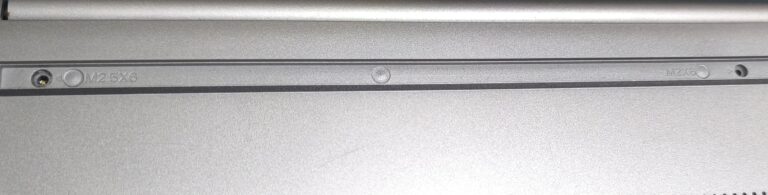
My smart daughter, Rose, was helping me (because who wouldn’t want to screw something up with mom haha) and she pointed out in tiny writing that next to three of the holes in the plastic casing (in the place that used to be hidden by the rubber strips) there was writing.
Two said M2.5×6 and one said M2x6, and she asked me if that meant anything. I realized that it meant 2.5 millimeters in width for 2 of the screws vs 2 millimeters for the other. So that was why it wasn’t working, we’d used the wrong screws in the holes.
Interestingly, the two holes on the plastic casing that weren’t under rubber strips had bigger looking holes, so I’d assumed that the 2 black slightly larger screws had been meant for those holes (and they were able to fit in there, which was misleading).
So we were trying to look through the 6 remaining screws to try to see if any of them were a slightly different size and got nowhere. Then Rose suggested that maybe the black ones were supposed to go in the 2.5 millimeter holes, and duh. It worked.
The rest of the screws went back into their correct places, and now I have a functioning computer.
And now that you know how I rescued my (fortunately not too badly) water damaged computer, if you get your computer wet, hopefully this can inspire you to try to problem solve yourself (and not wait until you can bring it to a repair shop, letting the water sit even longer).
Yes, it might take a little more problem solving than what I did. You might actually need to replace a part on the computer. But by taking it apart and drying it out like I did (instead of just “placing it in rice”) you’ll prevent there from being more damage in addition to needing to replace whatever may have shorted when it first came in contact with water.
Have you ever taken apart a computer to repair it? What type of repair did you do?
Would you have the guts to take your computer apart like I did?
Have you ever wet electronics before? Which electronics were they, and were you able to save them or not?


One Response
very impressed, as usual